You’ve installed ExactMetrics and now the next step is to connect your ExactMetrics to Google Analytics.
Follow this guide to get authenticated and connected within minutes.
Prerequisites:
- ExactMetrics is installed on your WordPress site.
- You’ve created a profile for your website in Google Analytics.
- If you’re not sure you can also check if you already have a Google Analytics account.
Authenticate a Google Analytics property with ExactMetrics
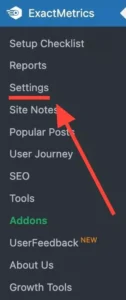
Go to ExactMetrics » Settings found on the left-hand side of your WordPress dashboard.
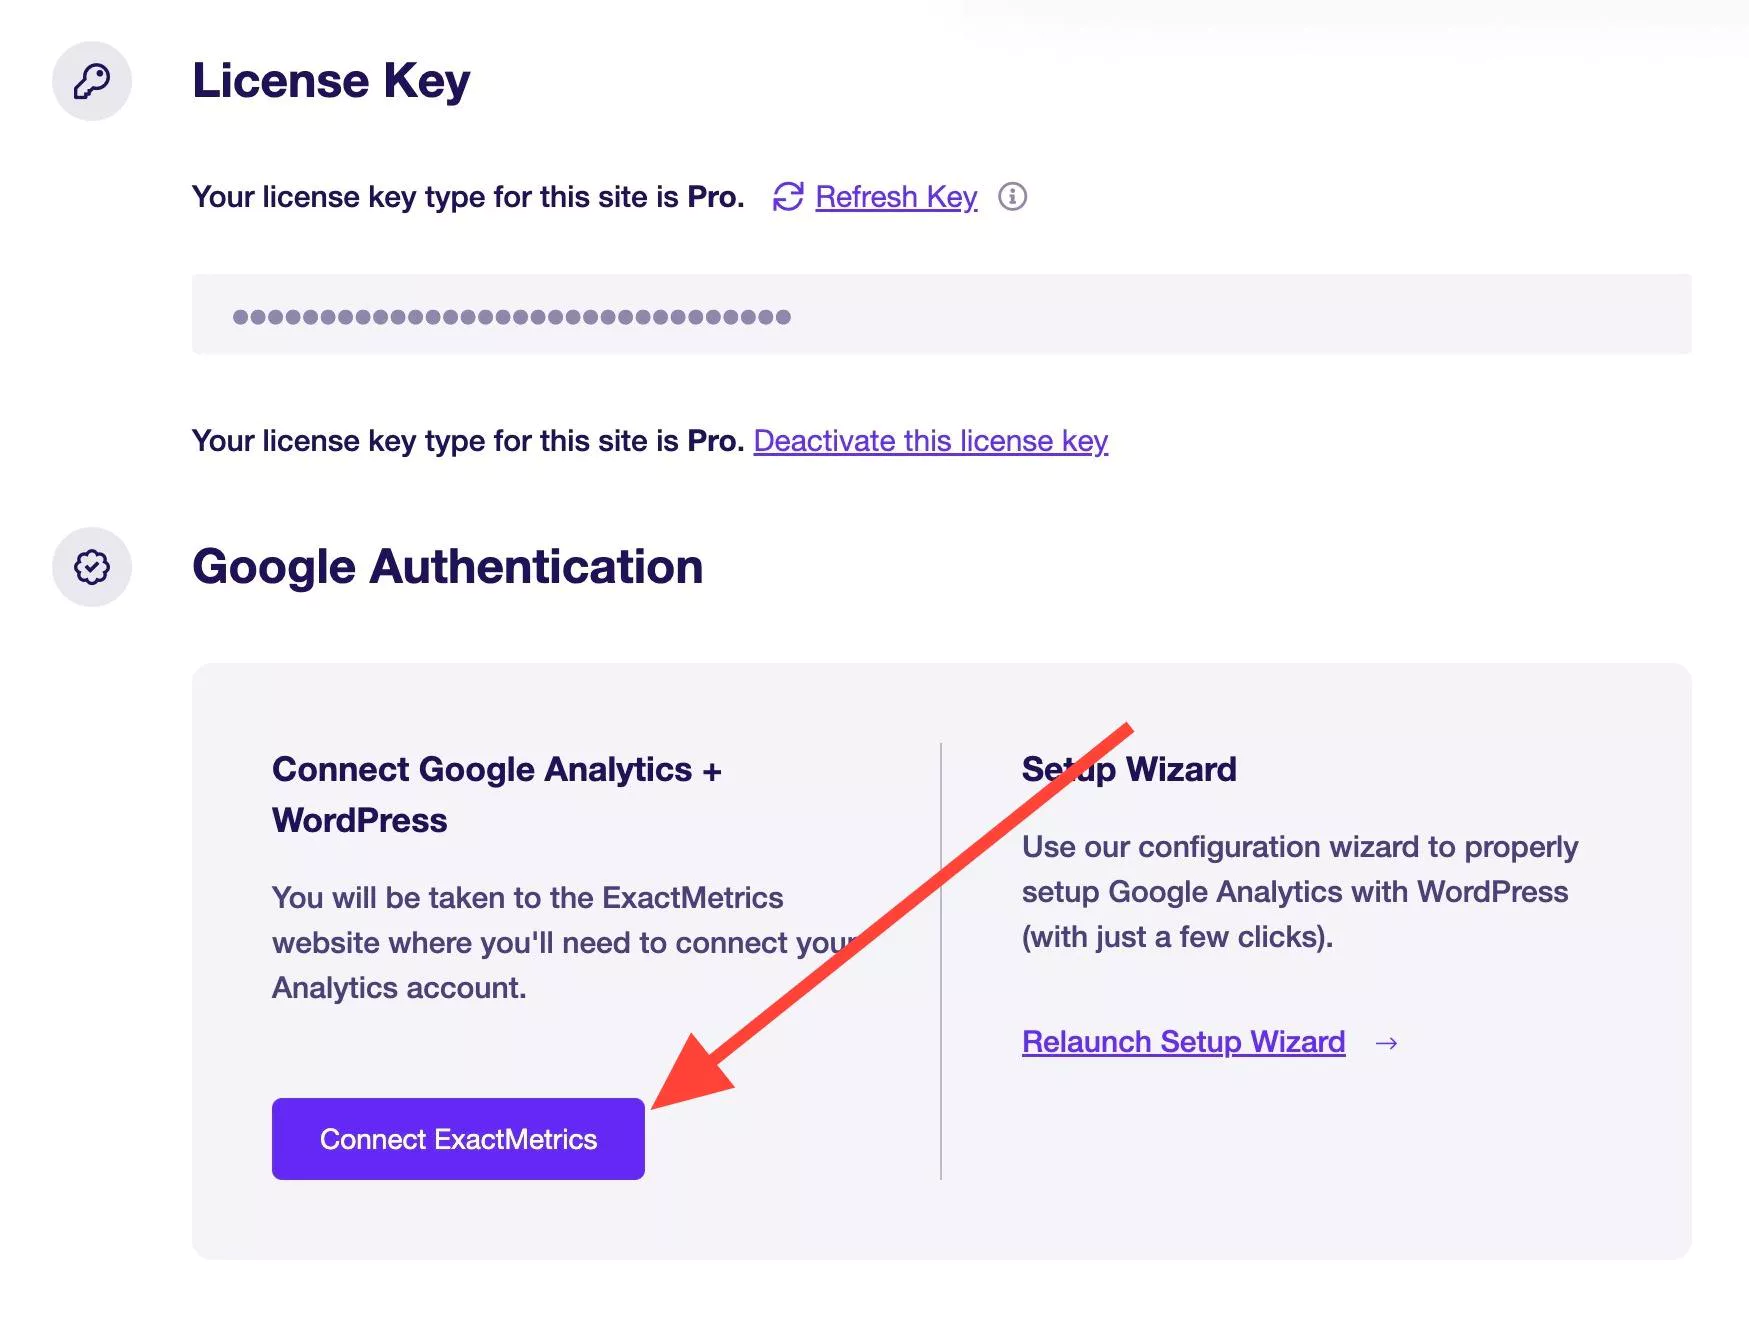
Next click on the Connect ExactMetrics button.
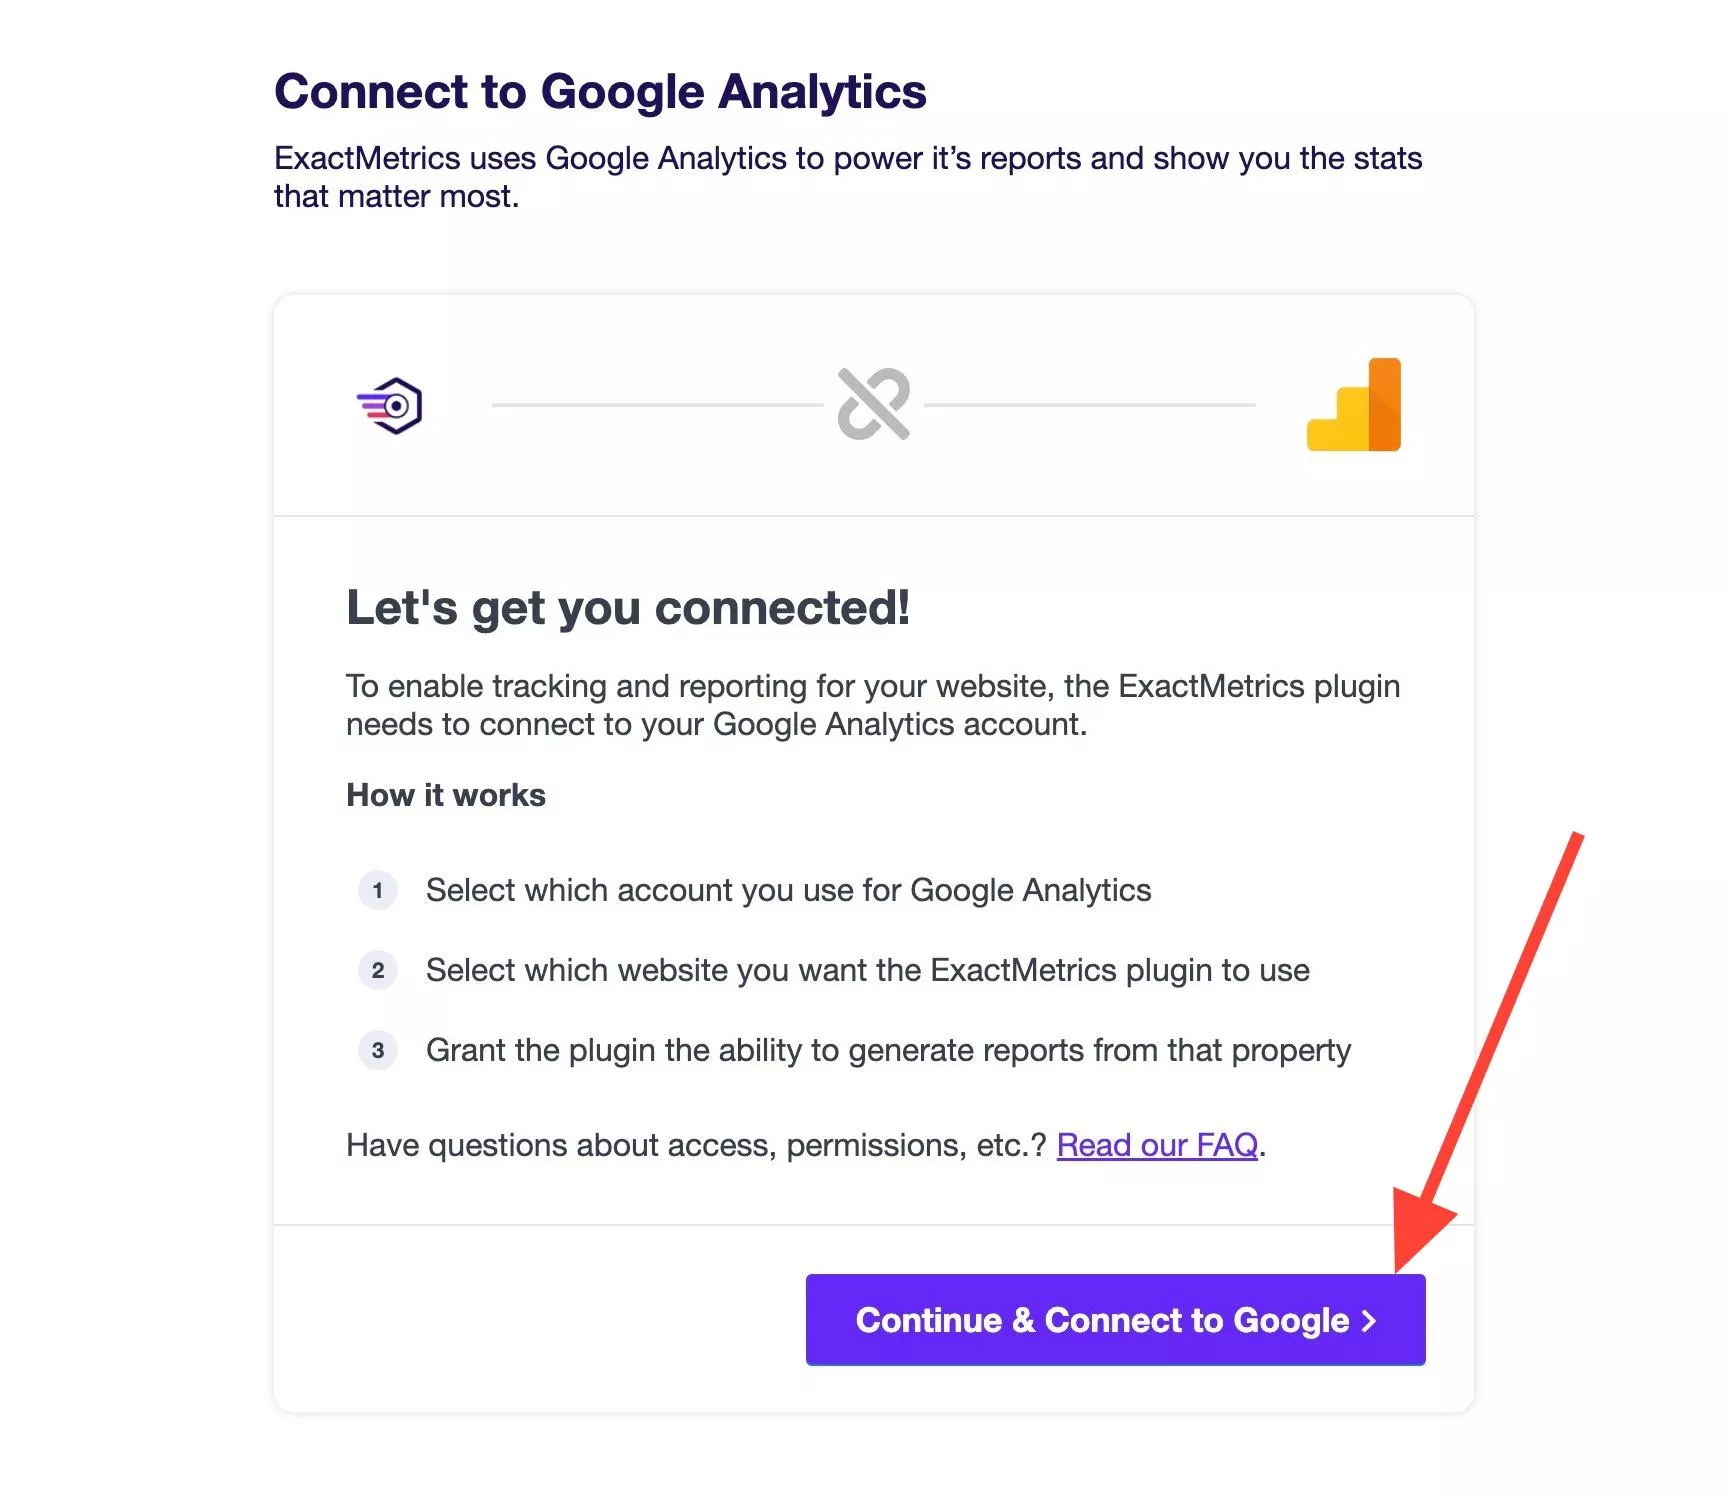
You’ll see an overview of the next steps to take to connect ExactMetrics to your Google Analytics property. When you’re ready, click on Continue & Connect to Google.
First, please choose the Google account used to make your Google Analytics property to authenticate with.
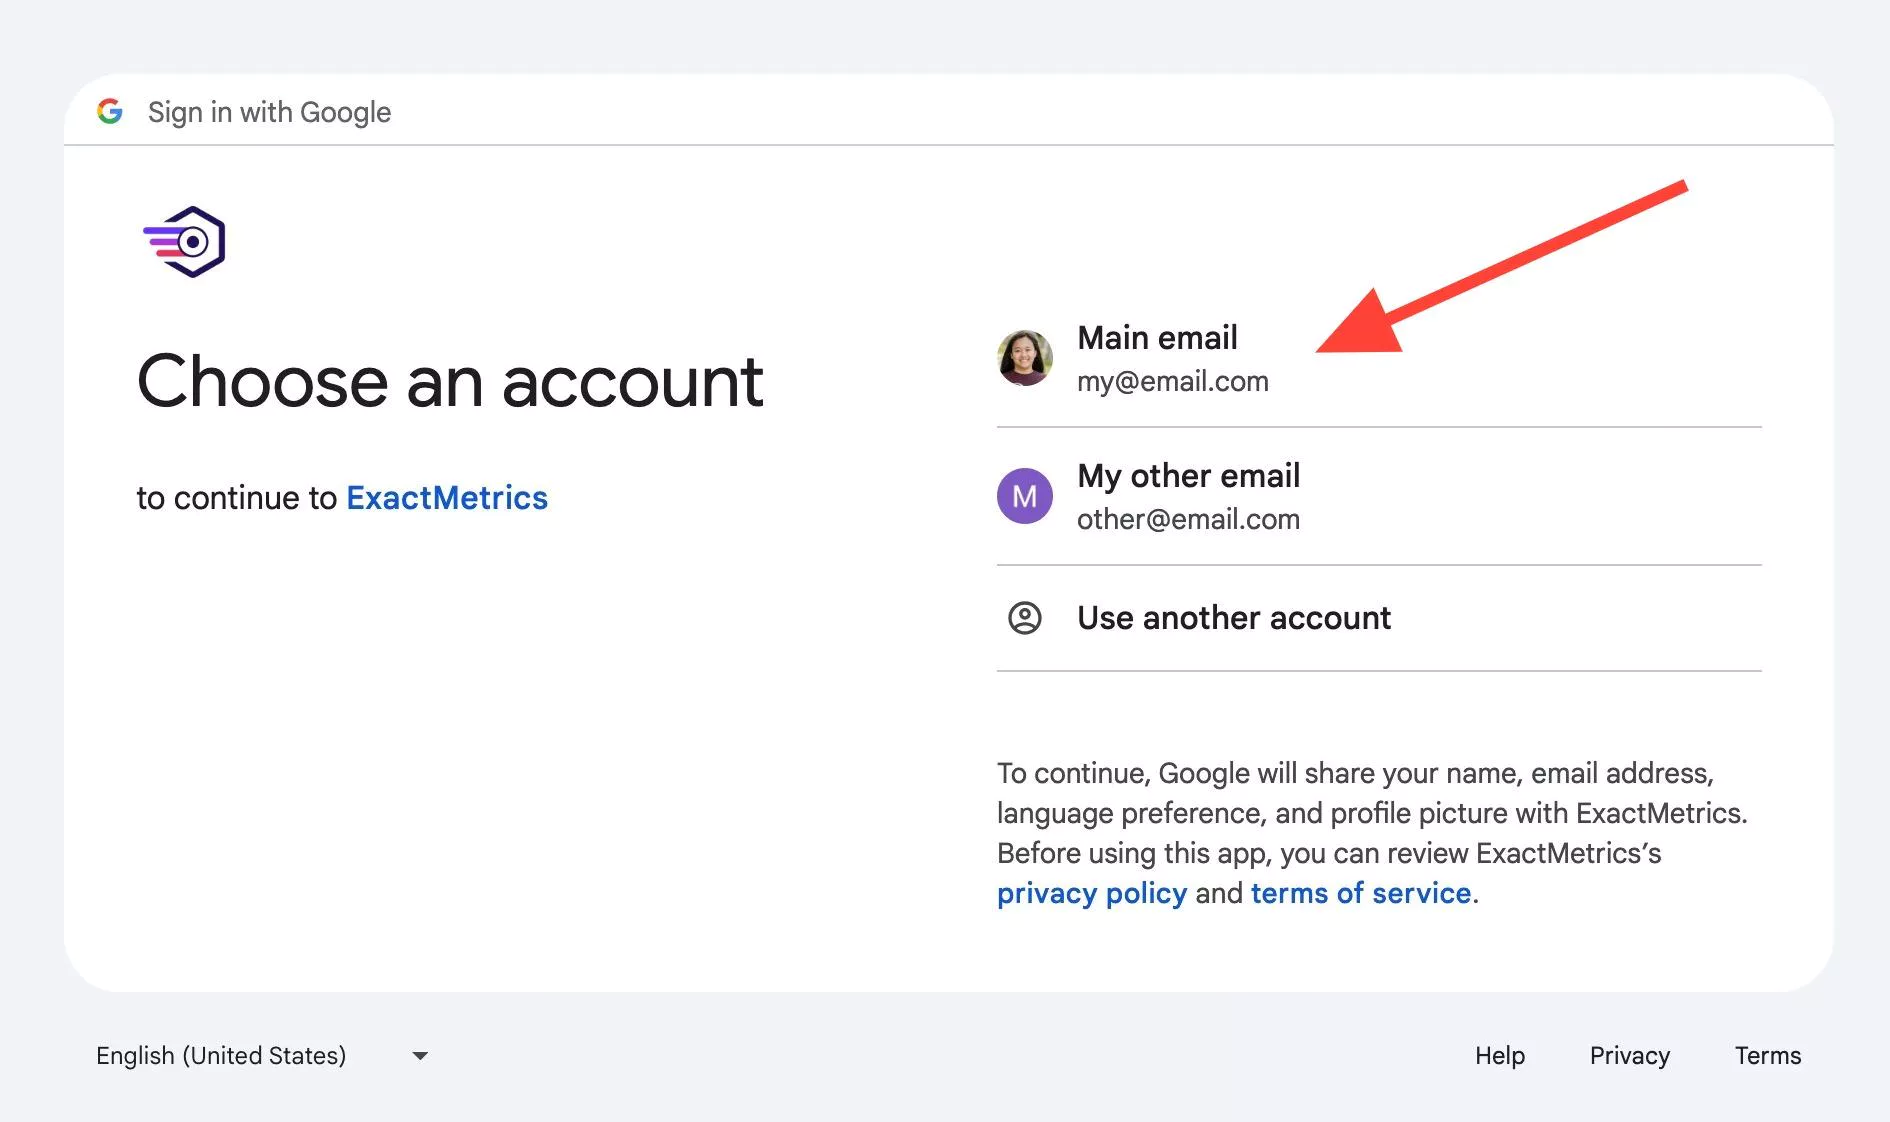
Then Continue onto the next page.
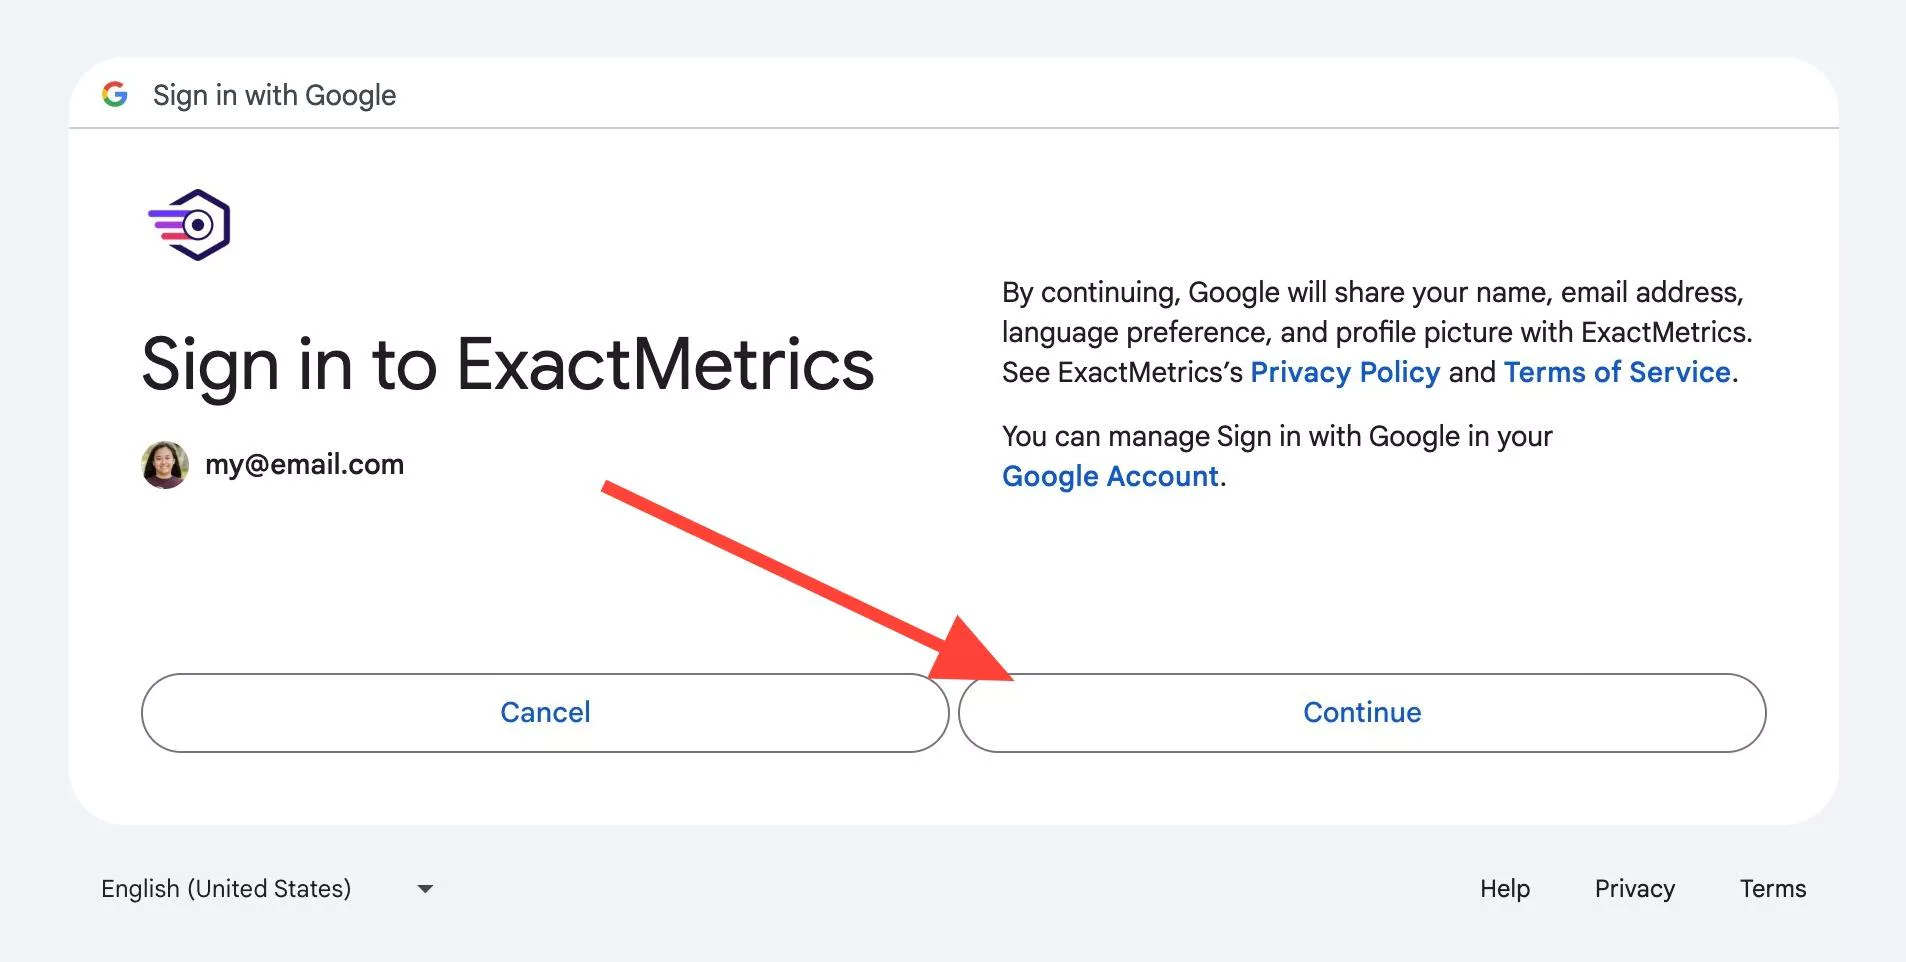
Lastly, click the Allow button to give ExactMetrics access to your Google Analytics data:
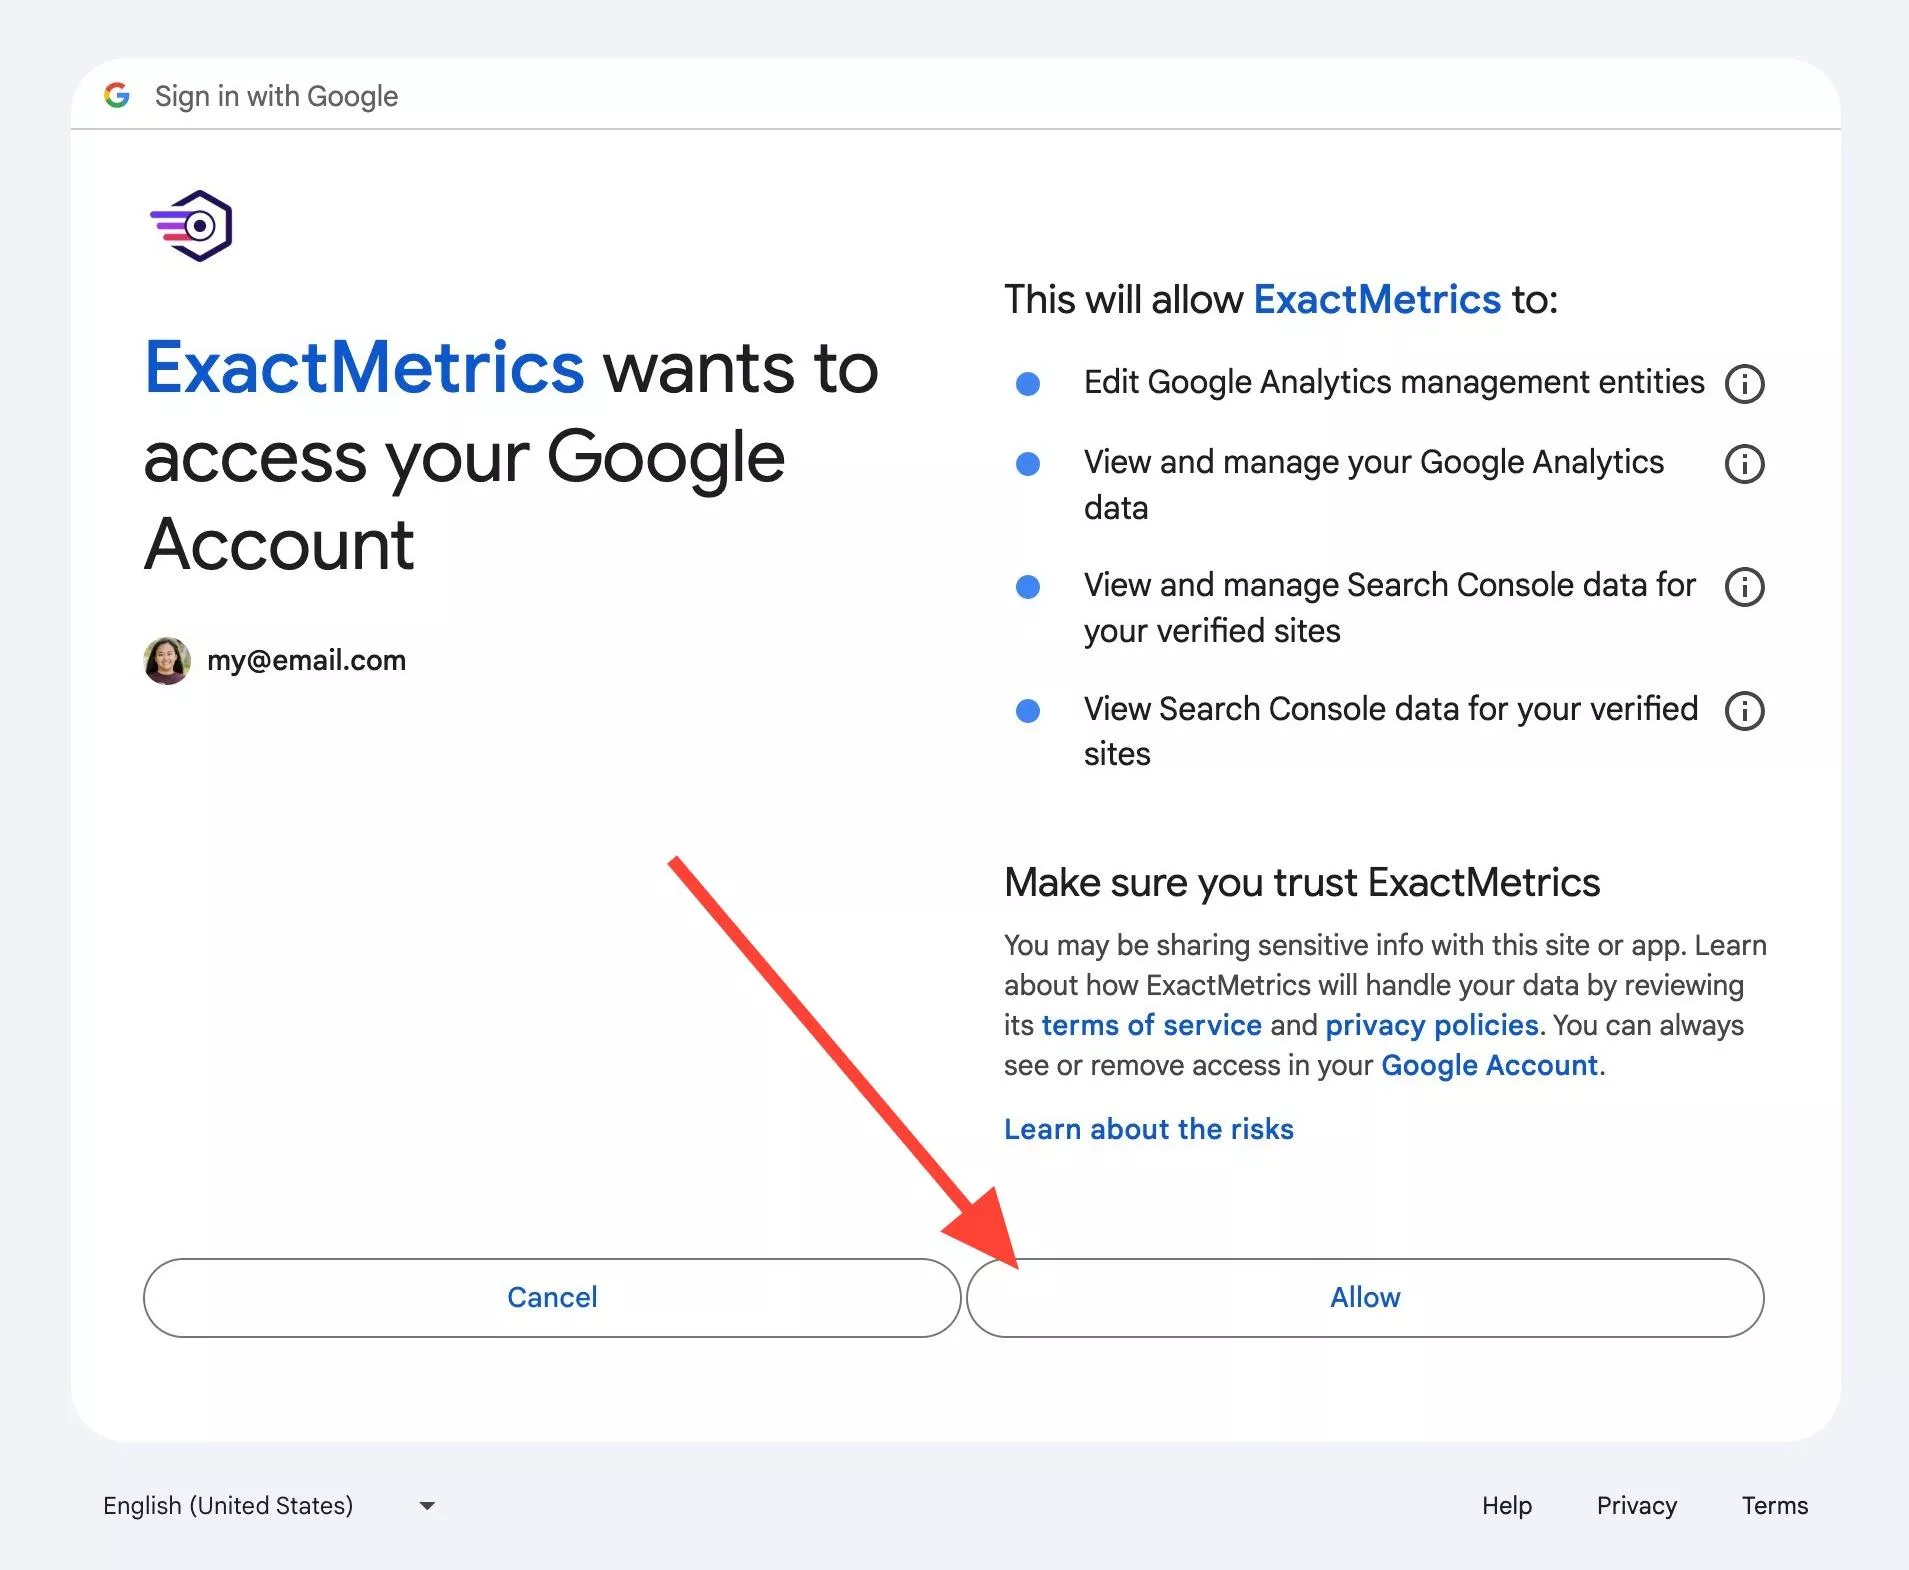
ExactMetrics requires all permissions to be granted.
To offer the best experience in Google Analytics and to implement future features seamlessly, ExactMetrics requires these permissions to function as intended. To read more details see: Google Permissions for oAuth.
You’ll be prompted to select the correct Google Analytics property for your site:
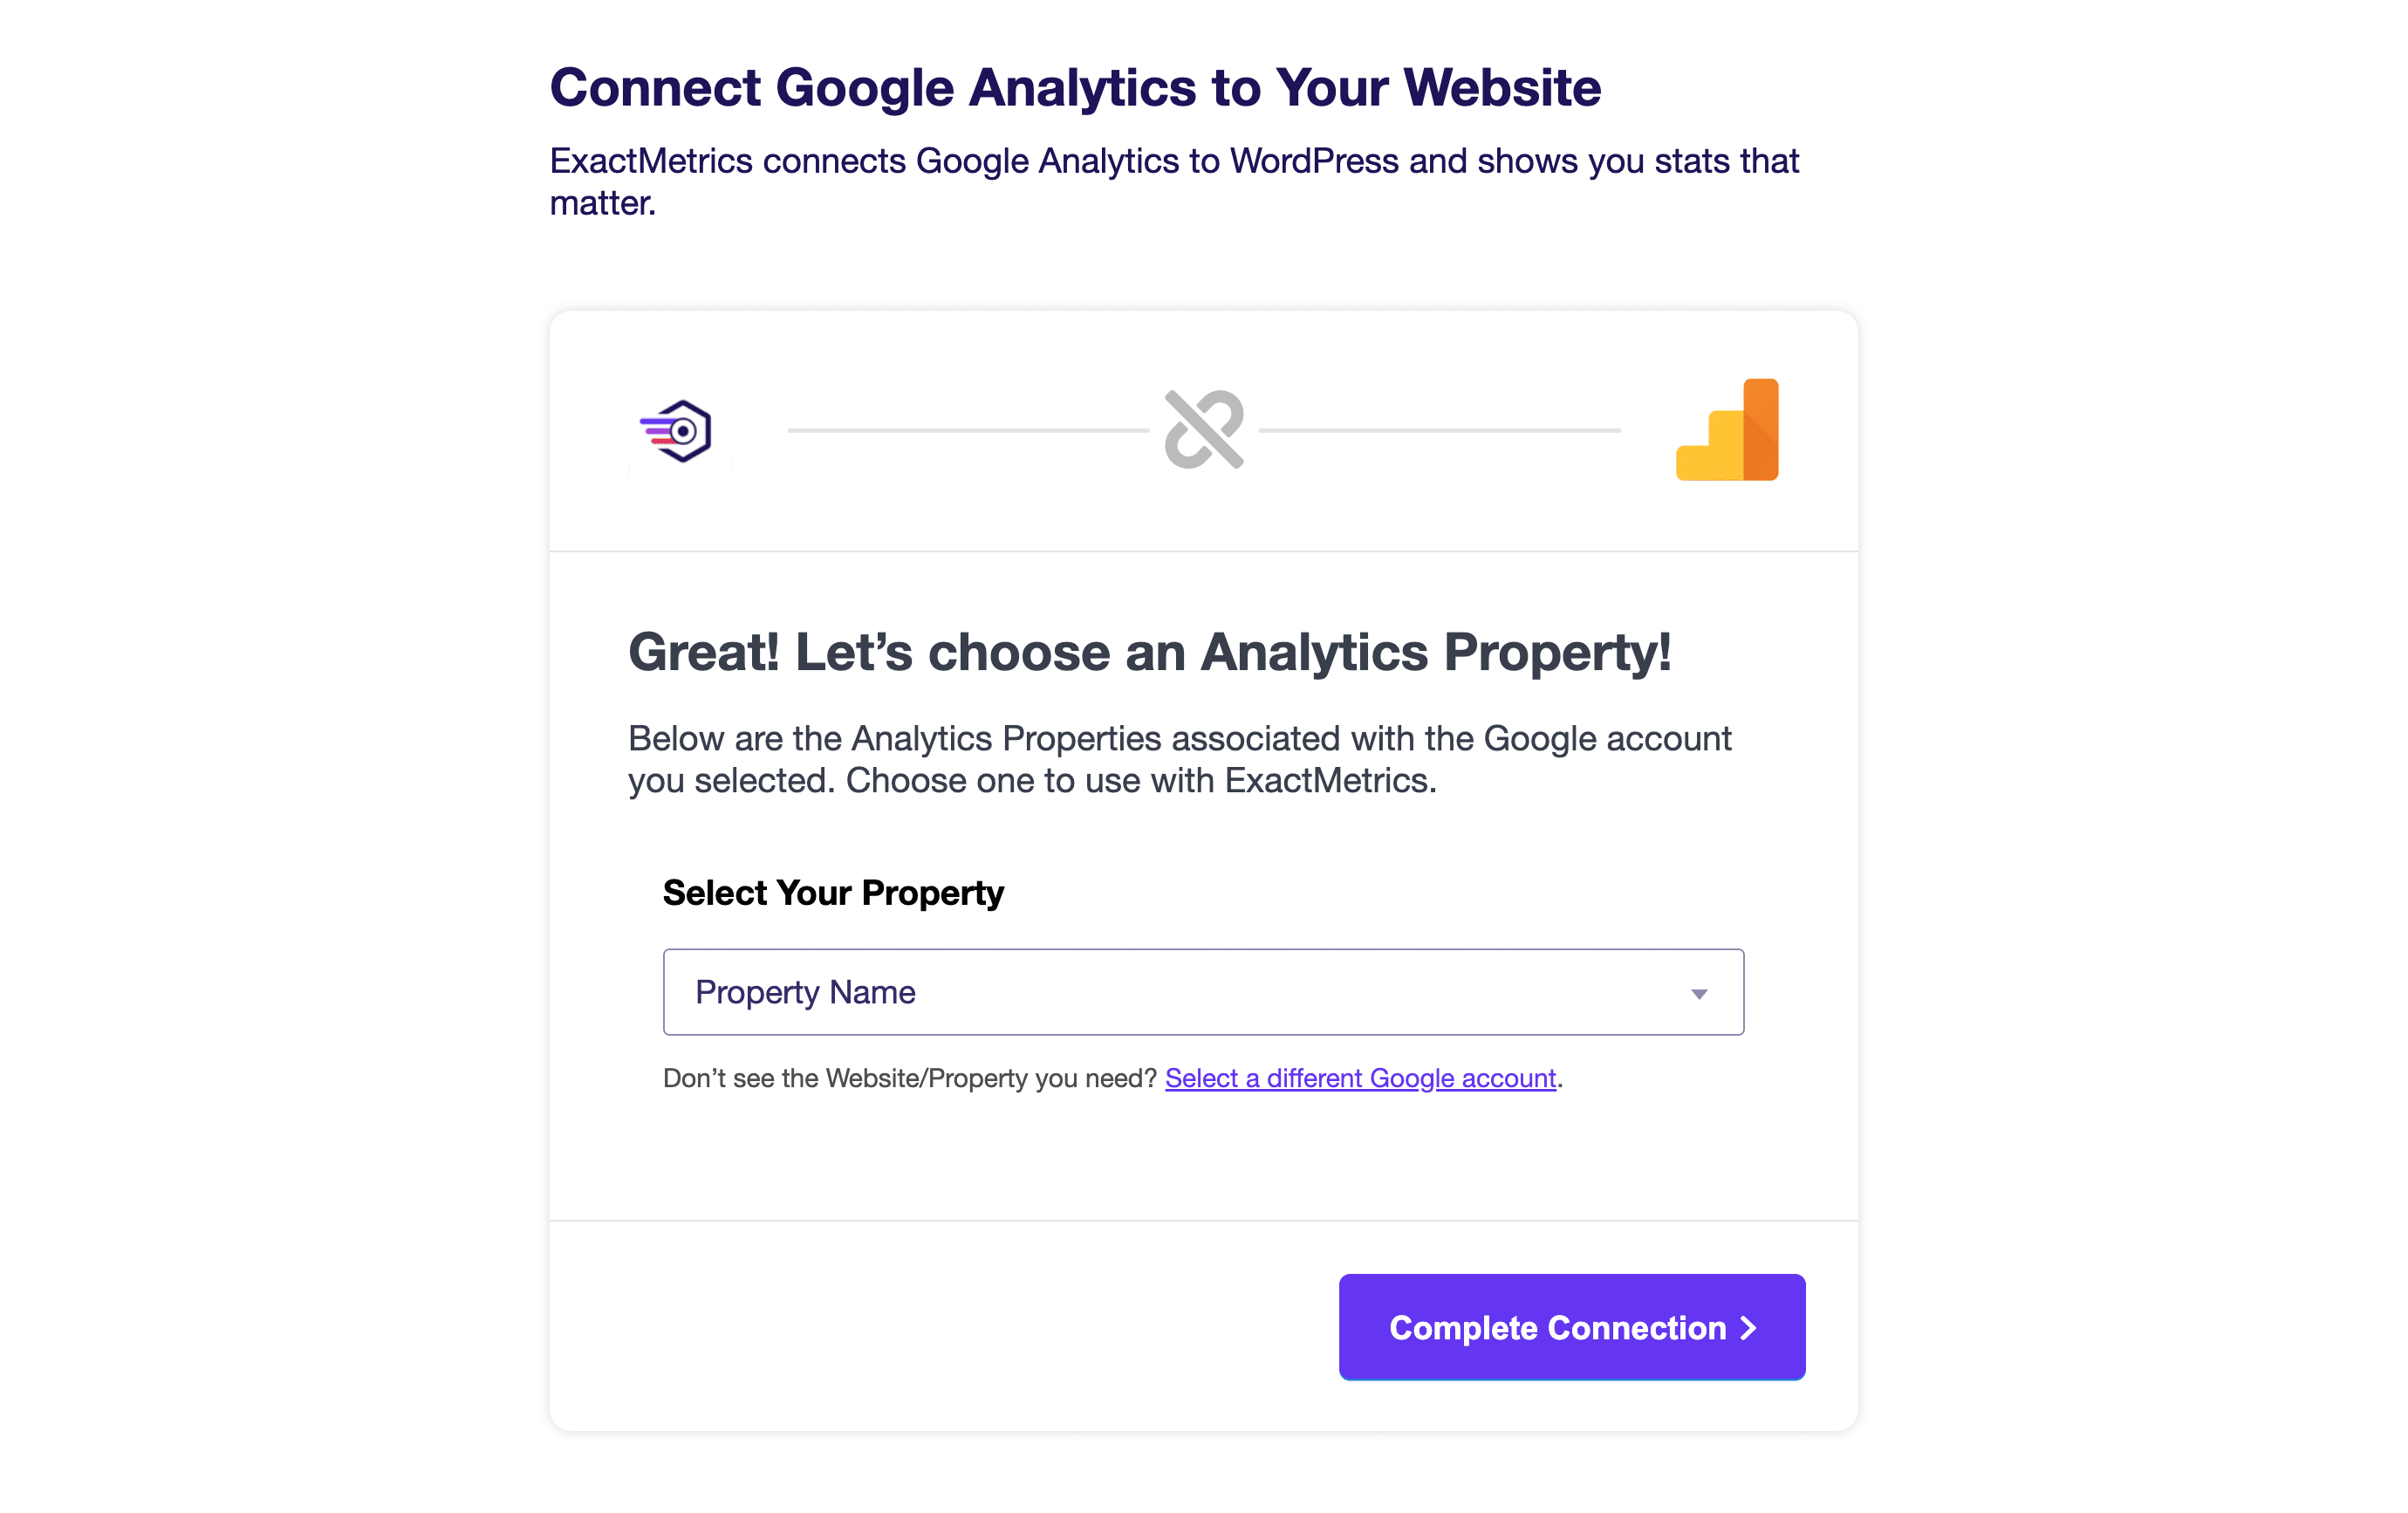
Once the desired property is selected, please click on Complete Connection to allow ExactMetrics to do its’ magic.
To complete the Setup Wizard, follow the rest of the steps:
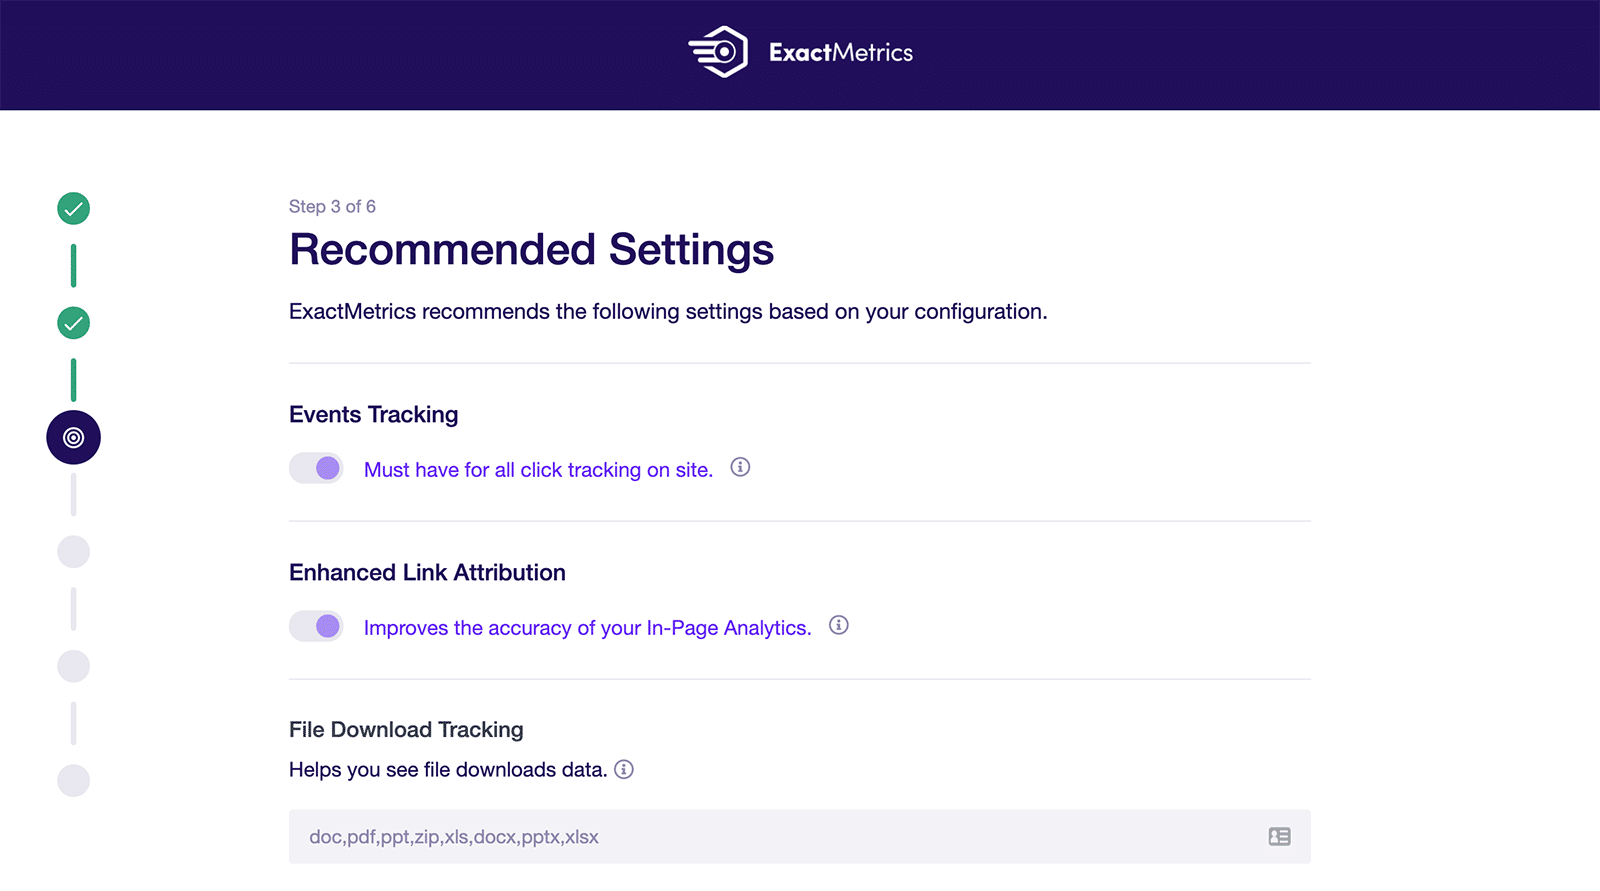
You did it! You’ve authenticated your Google Analytics.
With ExactMetrics, the best Google Analytics plugin for WordPress, you’ll also have some of the most advanced tracking possible now implemented within your WordPress site.
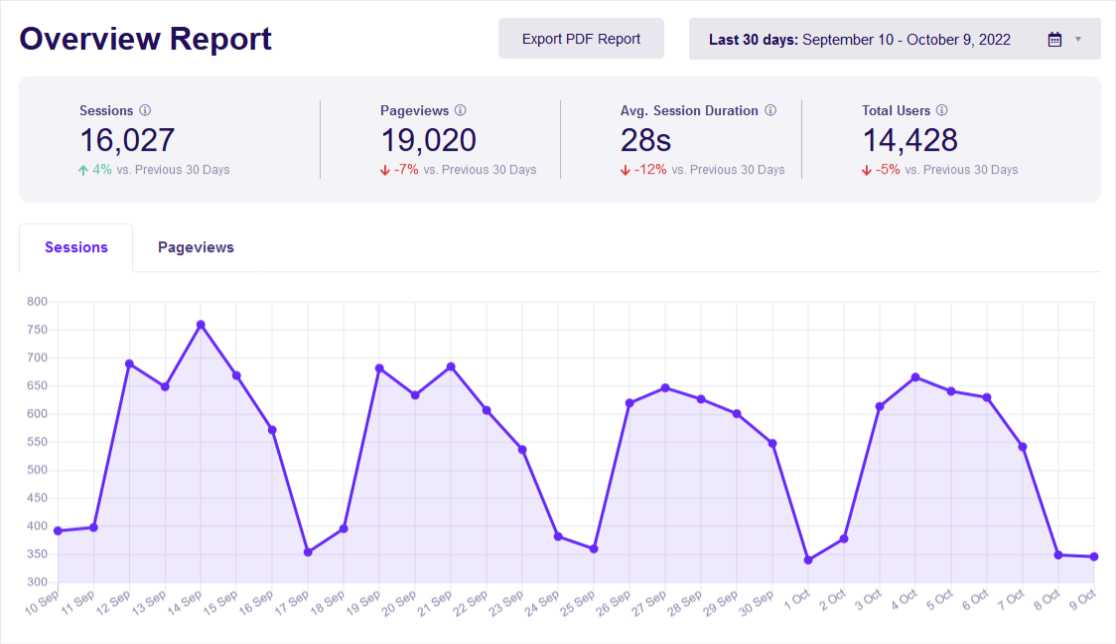
What’s next? Configure your Google Analytics setup and optimize settings based on your Analytics needs: Getting Started with ExactMetrics: Guide and Checklist for Advanced Metrics

