Ready to run high-impact Performance Max campaigns directly from your ExactMetrics dashboard?
Connect with new customers online—whether they’re using Google Search, YouTube, Gmail, or other platforms—all through a single campaign.
With the Google Ads App in ExactMetrics, setting this up is a breeze. In just a few steps, you can launch impactful campaigns directly from your WordPress dashboard, making it easy to bring high-intent traffic to your site.
If you’re new to Google, get $500 in Ad credits when you spend your first $500 within 60 days* (T&C’s apply)
Follow this guide to set up a Google Ads campaign right within ExactMetrics.
Prerequisites:
- You’re an ExactMetrics Pro user or higher.
- ExactMetrics is installed and activated.
- You’ve already connected ExactMetrics to your Google Analytics property.
- You already have a Google Ads account.
Step 1. Let’s Start!
First, log into your WordPress dashboard and then navigate to ExactMetrics » Google Ads.
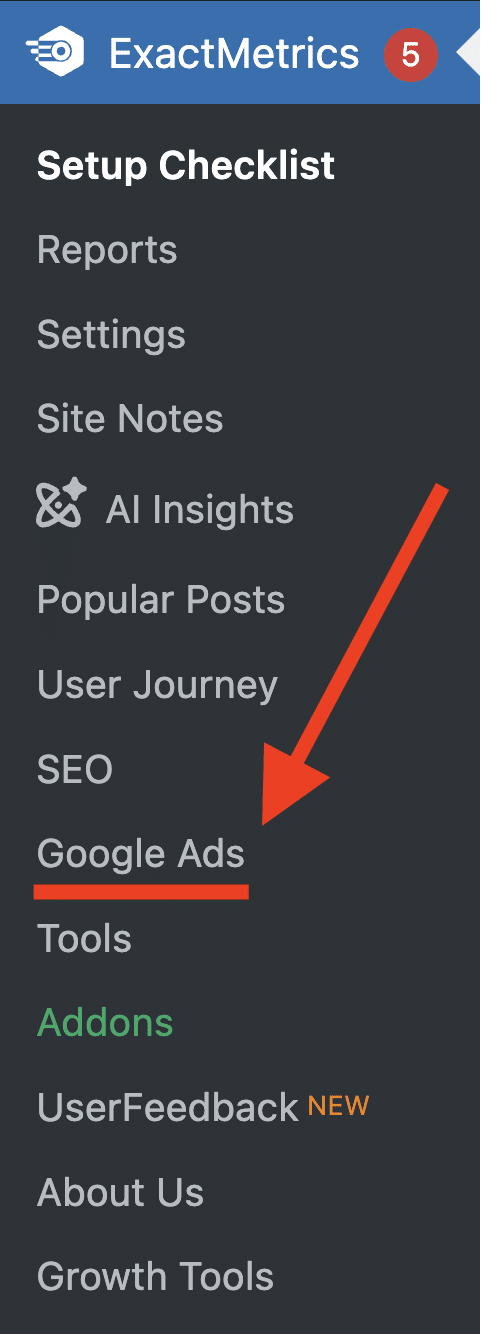
Step 2. Getting Started
Once you click on Google Ads in the sidebar, a new page will load on your site. Click the Get Started button to proceed.
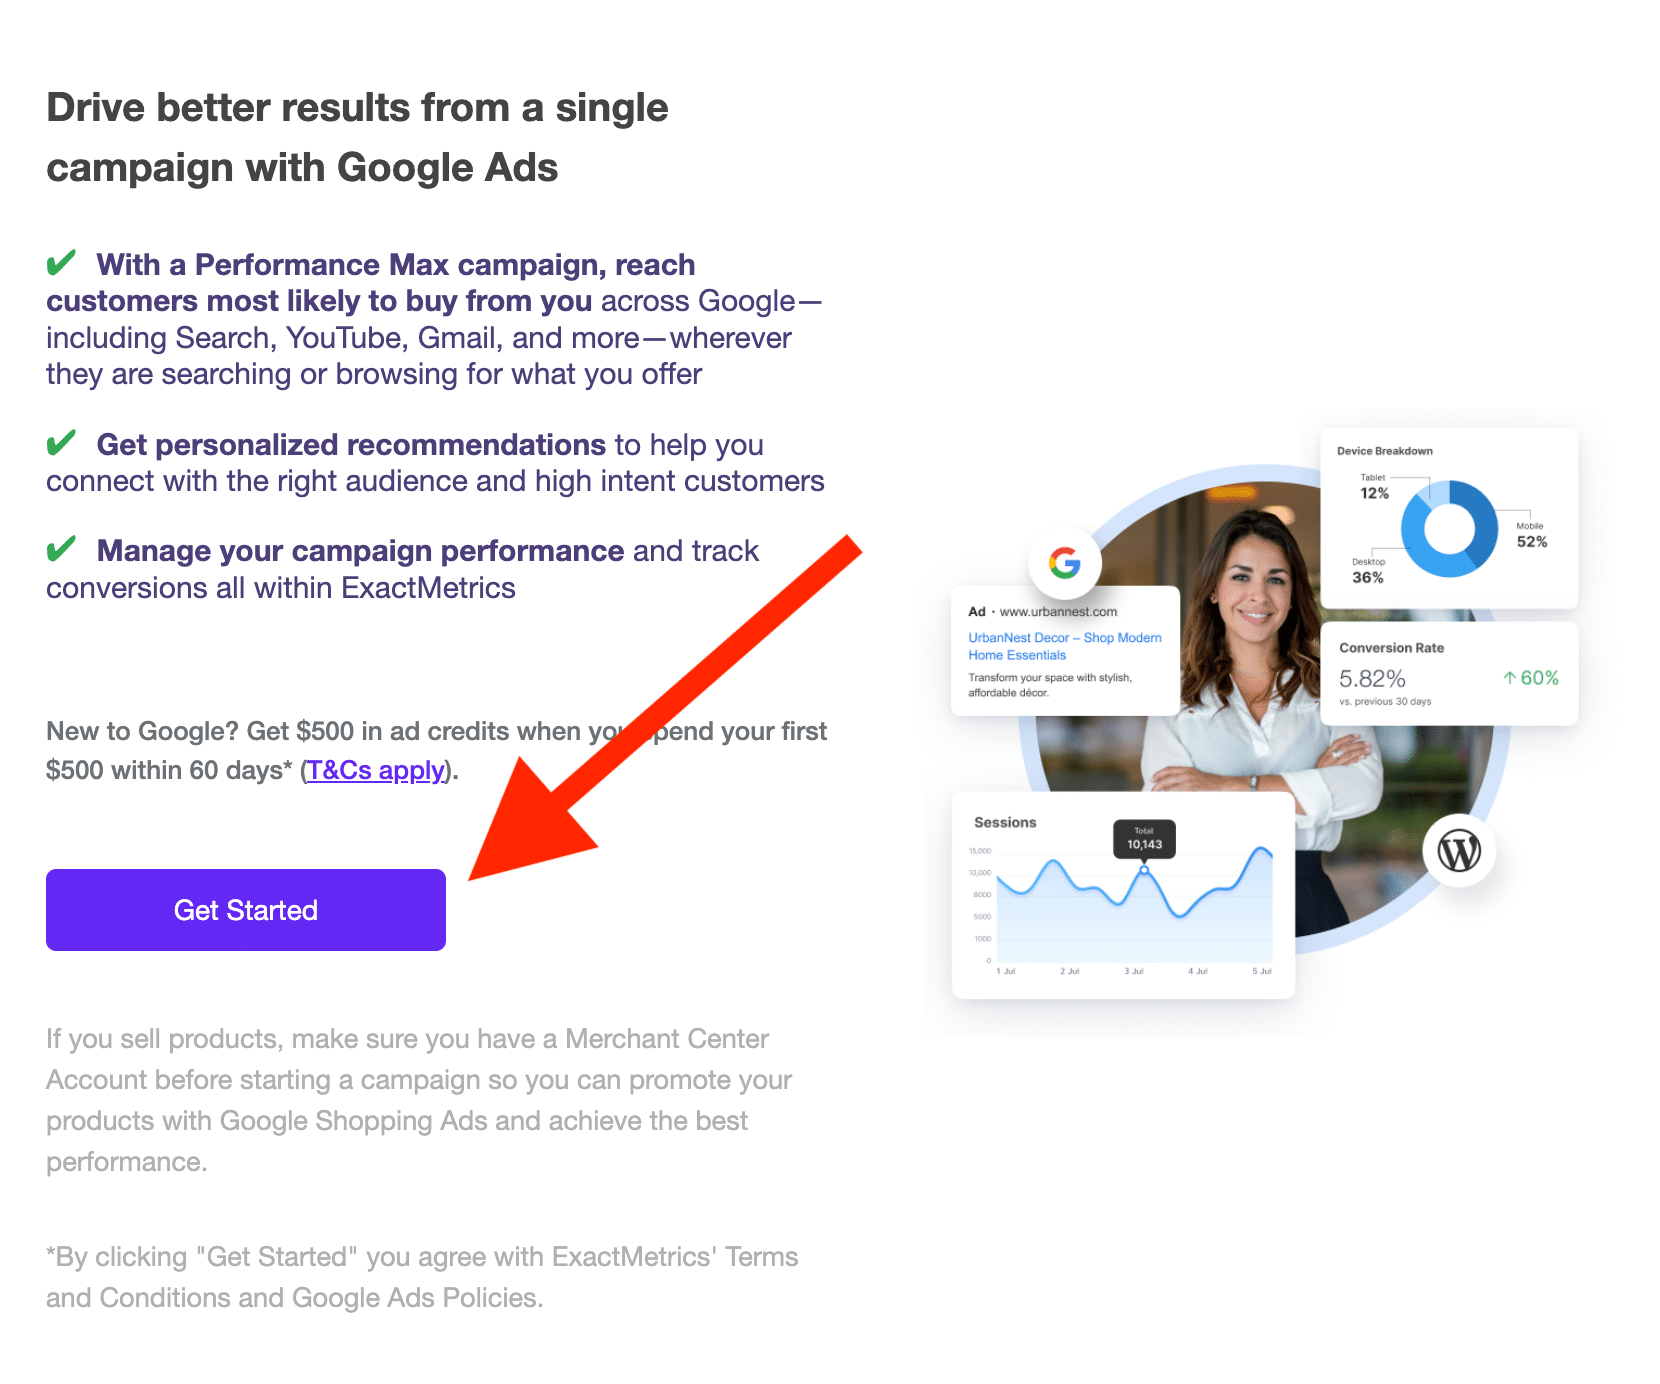
Note: If WooCommerce is installed, you’ll be asked to specify whether your products are physical or digital. Select Yes for physical products you ship, or No for digital ones.
Step 3. Google Ads Dashboard
If you’re not logged into your Google Ads account, you’ll be asked to log in.
If already logged in, click the Get Started button to create your first campaign and proceed to the next page.

Step 4. Creating Your New Campaign
First, enter your business or brand name as you want it to appear in the Ad. Click Next once done.
Step 5. Add Your Site’s URL
In this step, add the landing page URL for your website.
This is where users will land when they click your ad.

Step 6. Add Your Ads Goals
Select the goals you wish to achieve with your ad. This might include making sales or encouraging customer contact via a form. Choose the goals that best align with your needs.

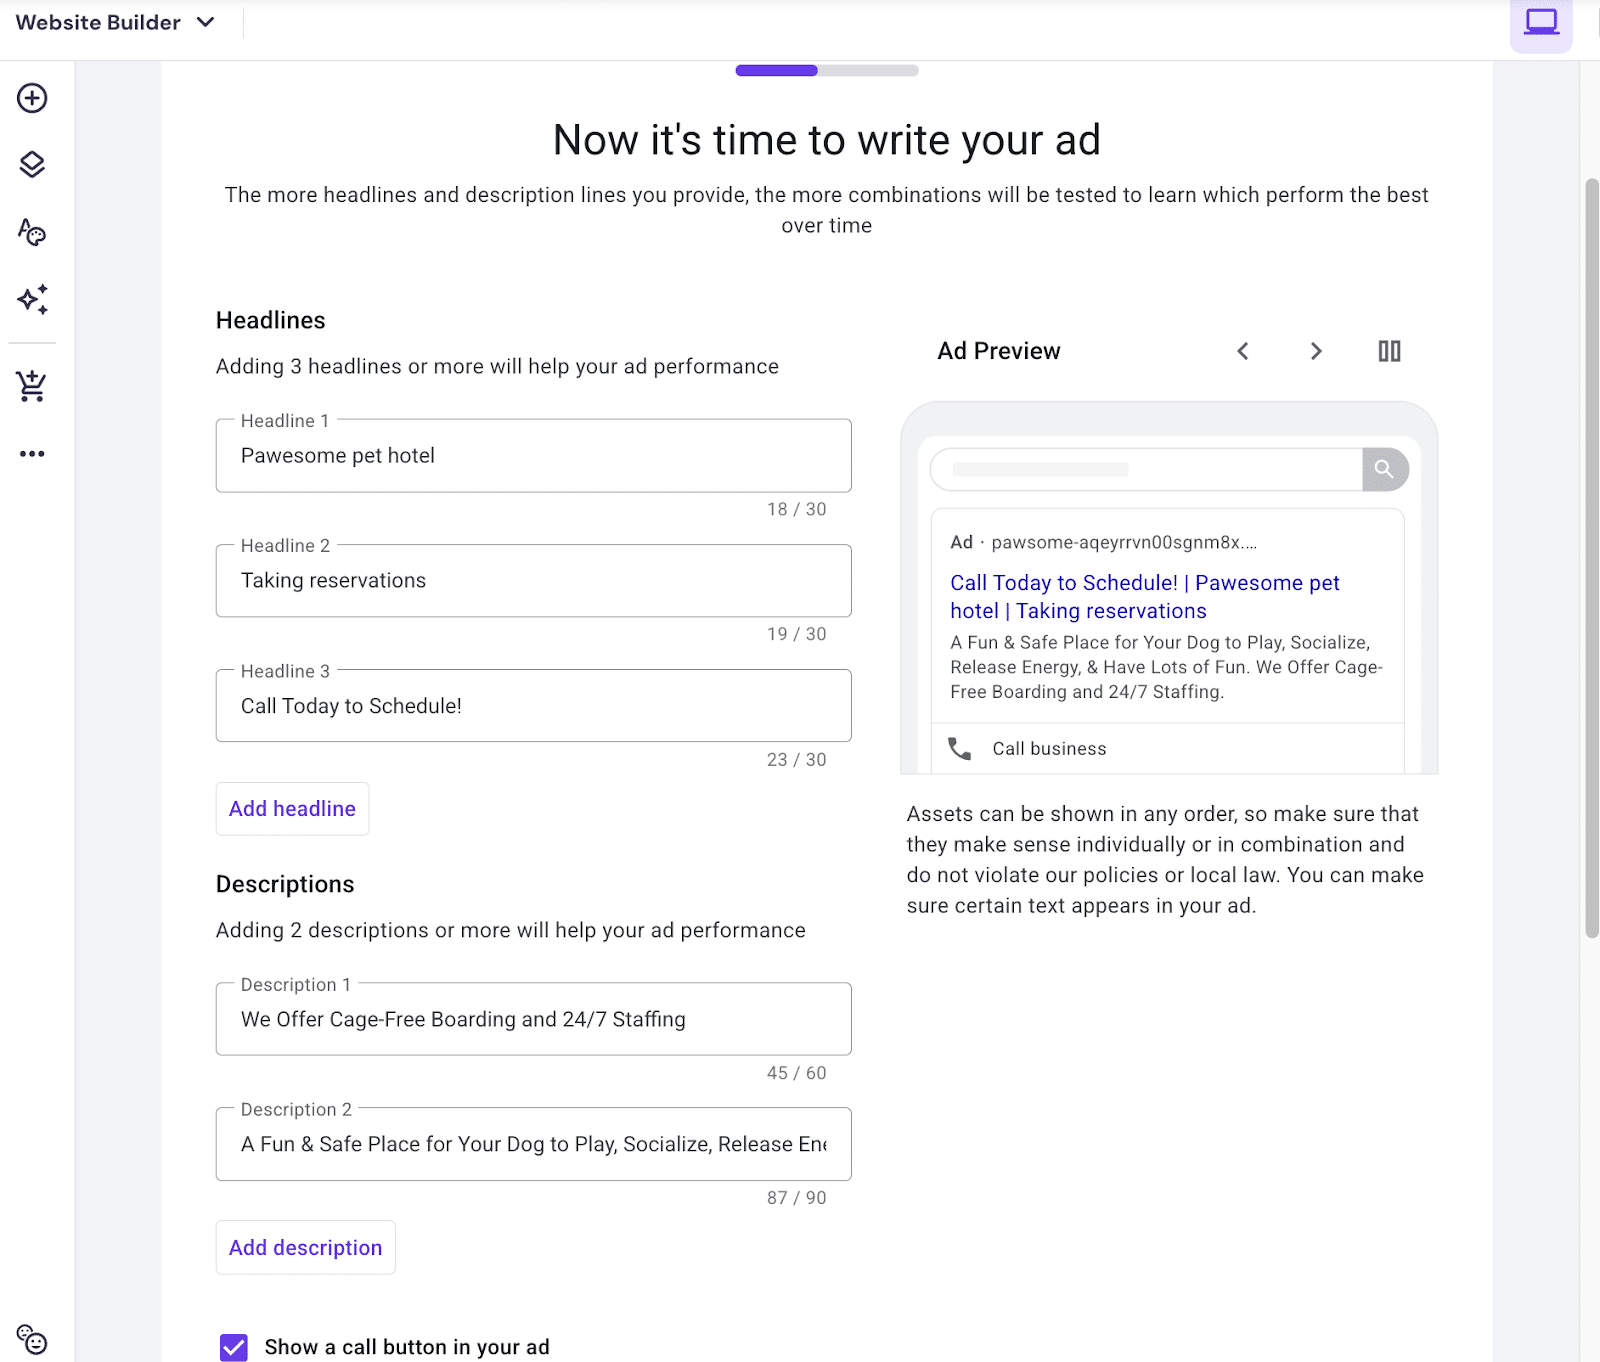
Step 7. Time to Write Your Ad!
Here comes the fun part! Create your ad content. You can preview it and make changes if needed. Include multiple headlines, descriptions, and even a call button for direct contact. Once done, click Next.
Step 8. Add Your Logo
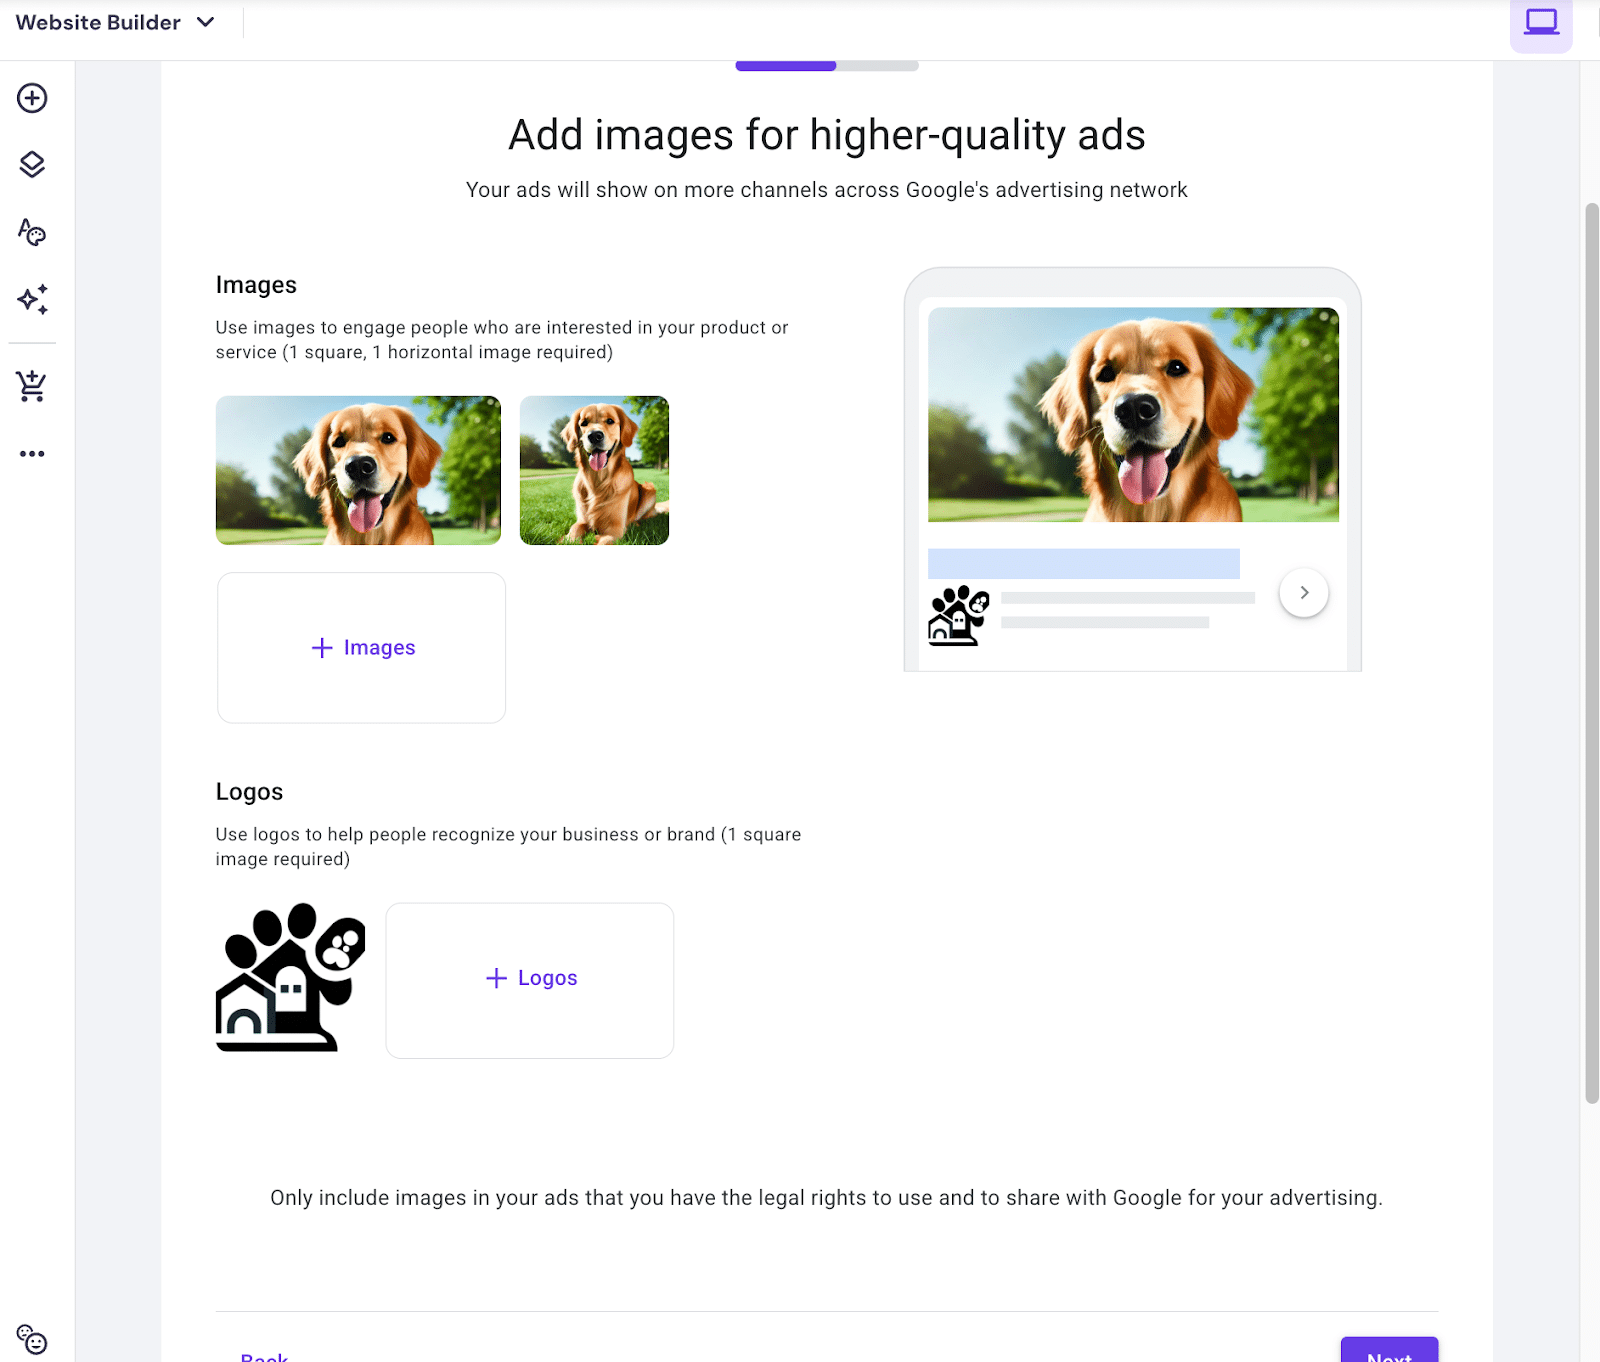
Upload your logo and other images for use in your ad. You’ll need at least one square (1:1) and one horizontal (4:5) image, plus a logo. Click Next after uploading images.
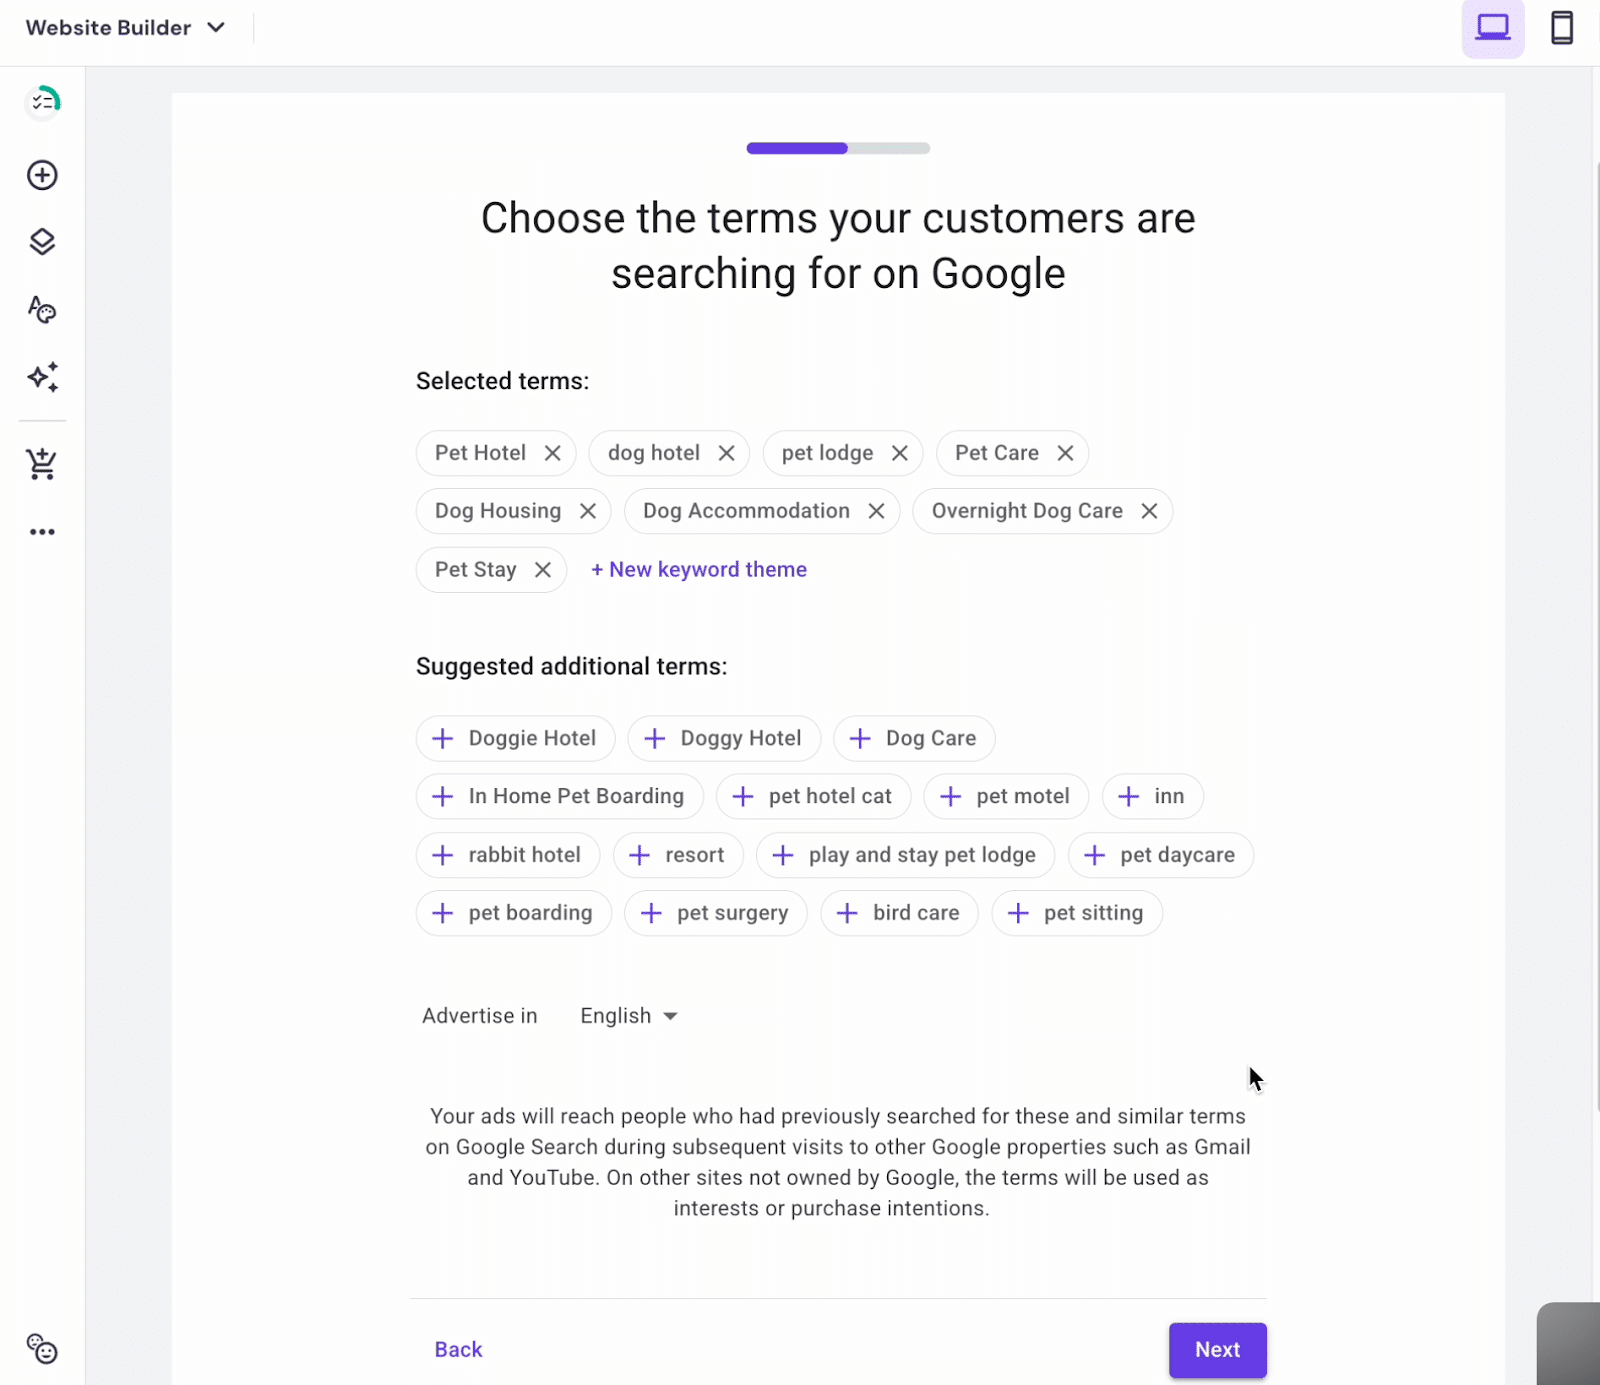
Step 9. Add or Select Your Keywords
In this step, we are adding your search themes relating to your business or the advertised product. Google Ads may provide suggestions, but you can add custom keywords too.
Review your Google Search Console keyword report for help selecting the best keywords for your needs. Once done, click Next.
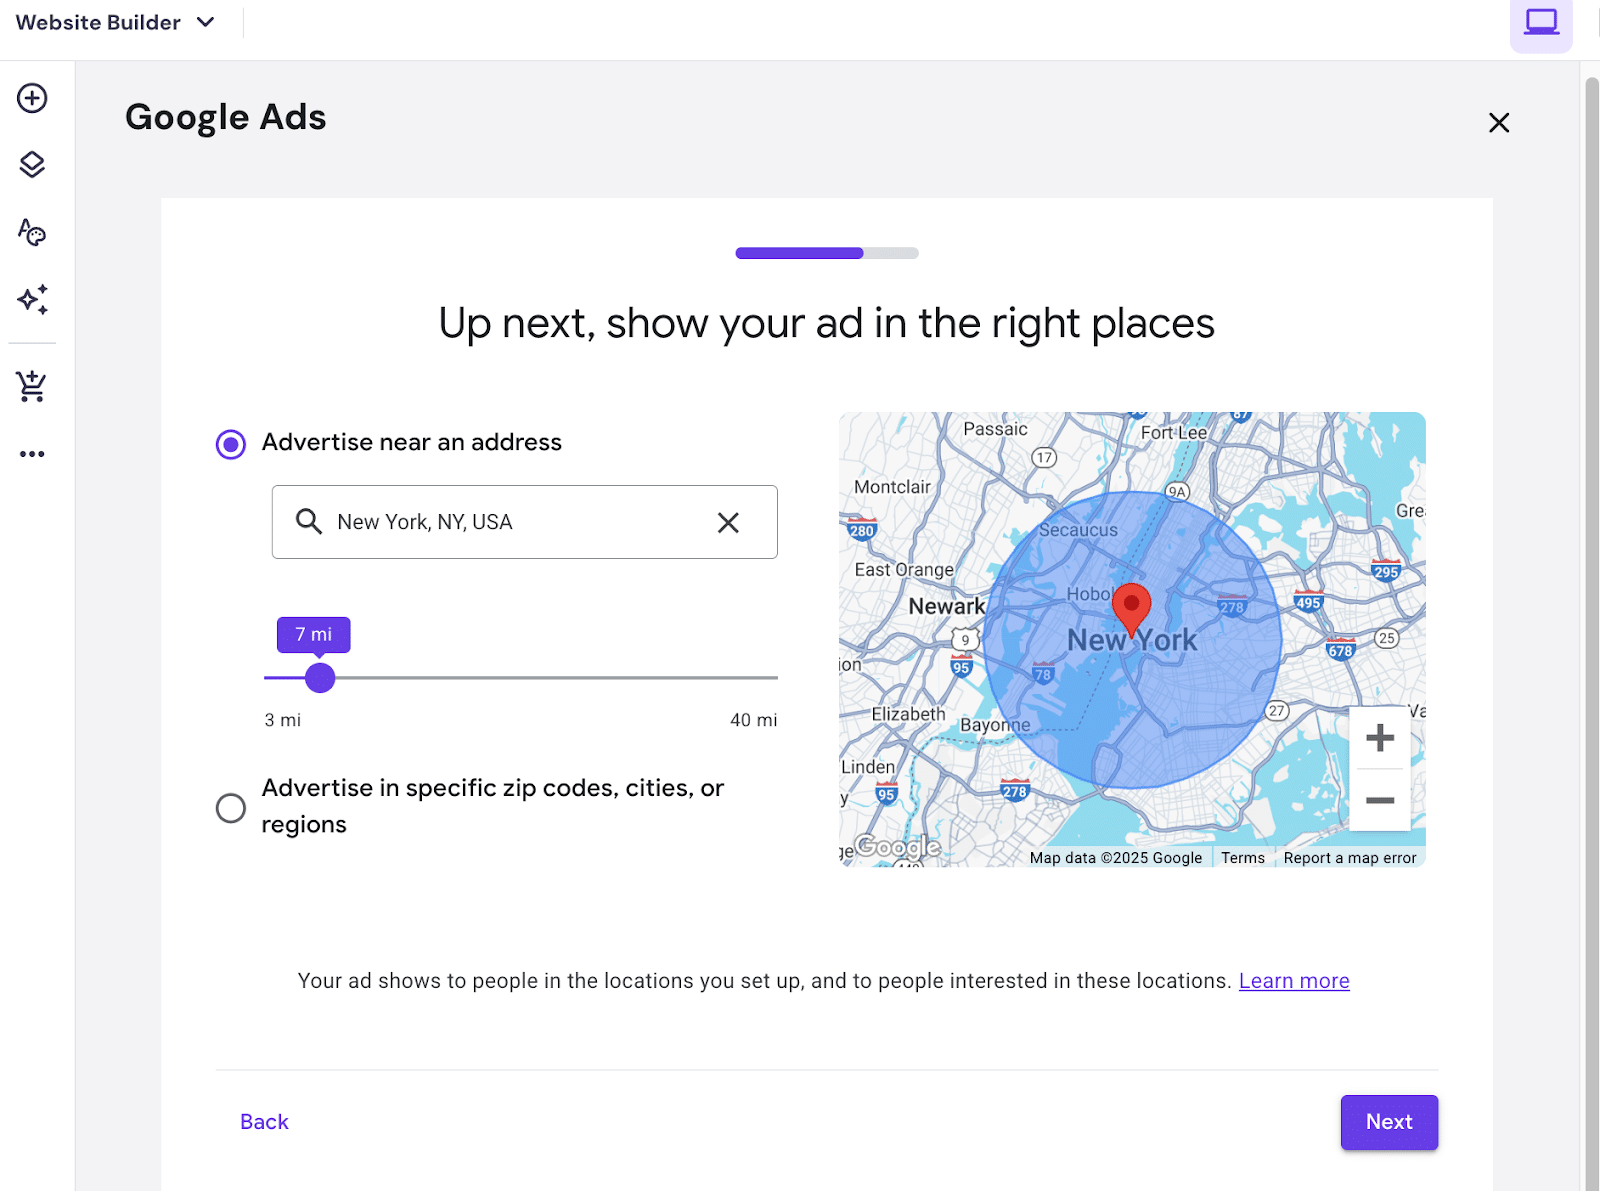
Step 10. Who Will See Your Ad
Select the locations and audience that will see your ad. Options include areas near your business address or specific zip/area codes, with the ability to set a display range. Click Next once you’ve decided.
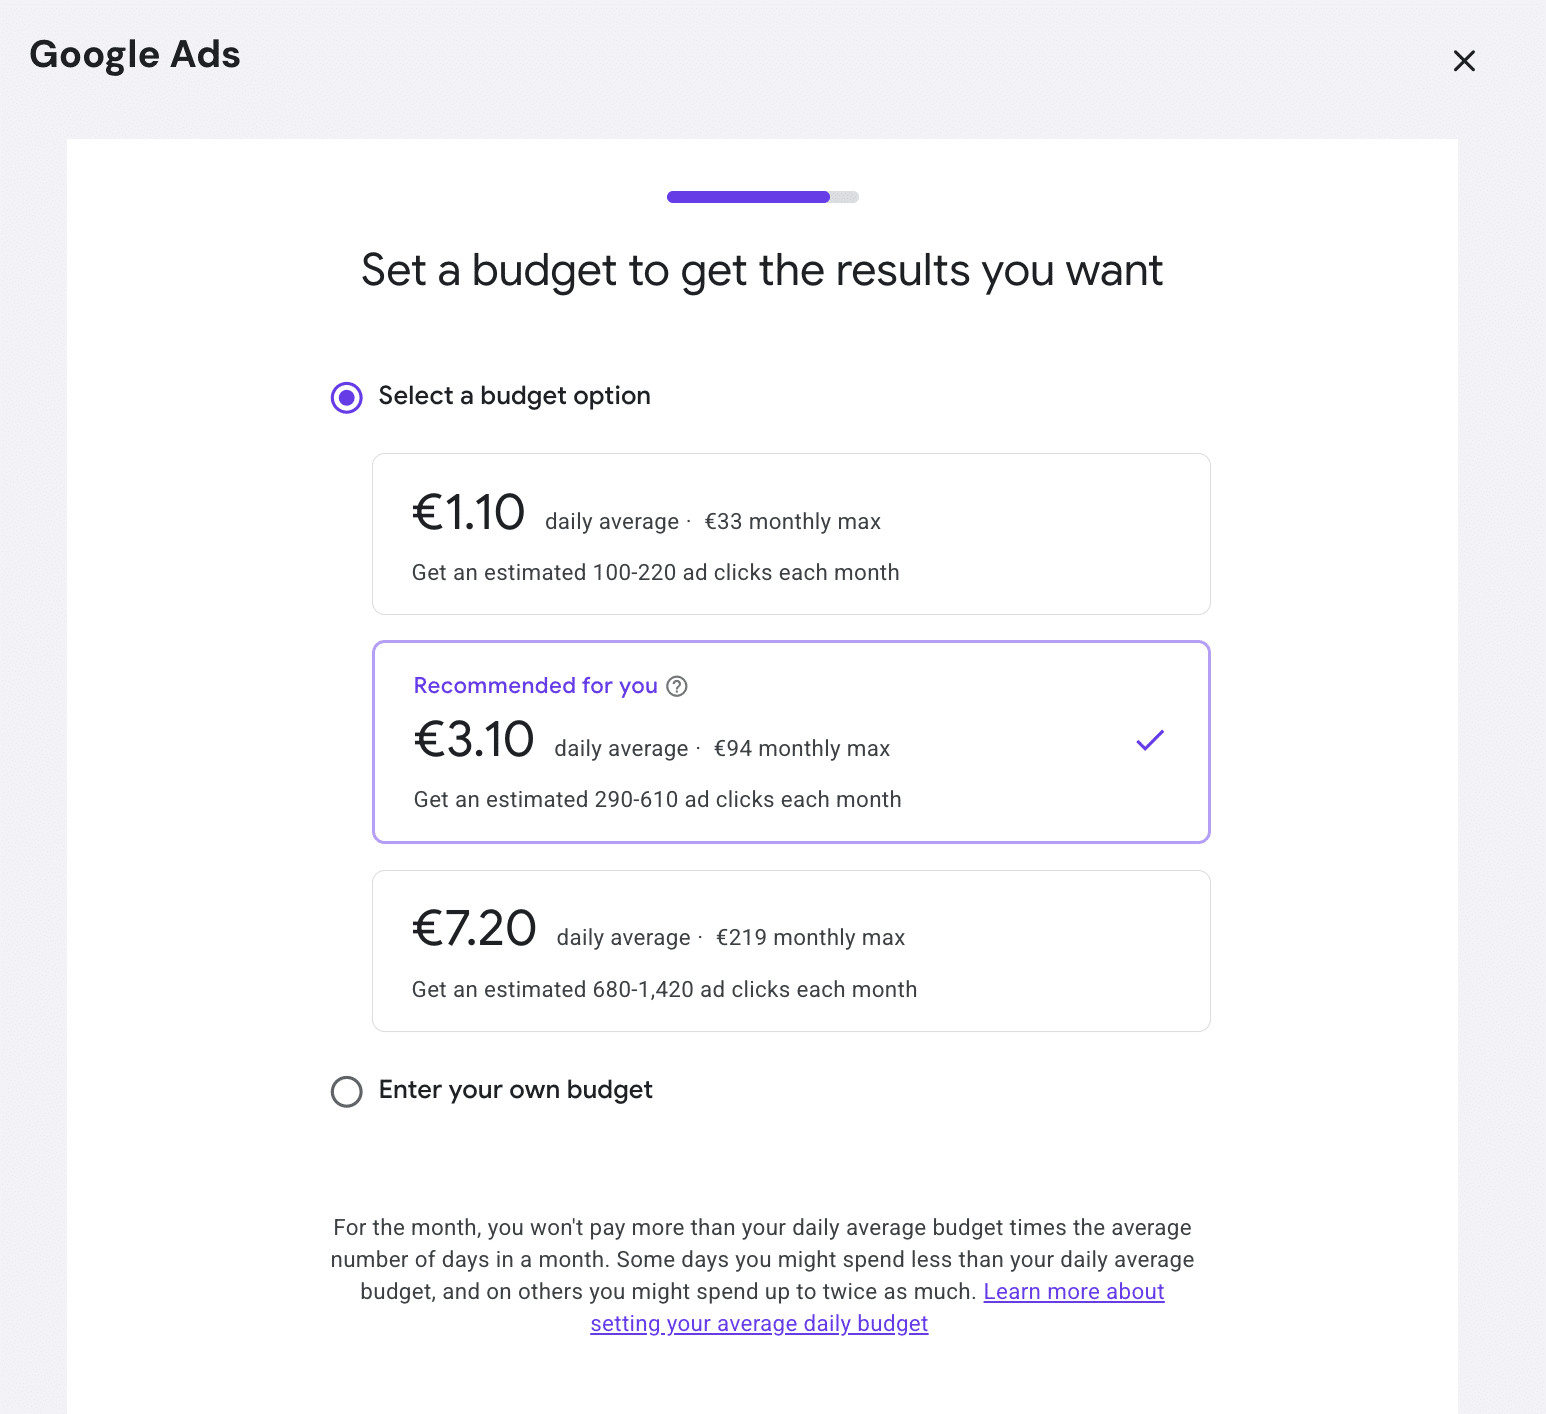
Step 11. The Budget
Determine the budget for your campaign. Choose from suggested budgets or enter your own by choosing the “Enter your own budget” option. Once set, click Next.
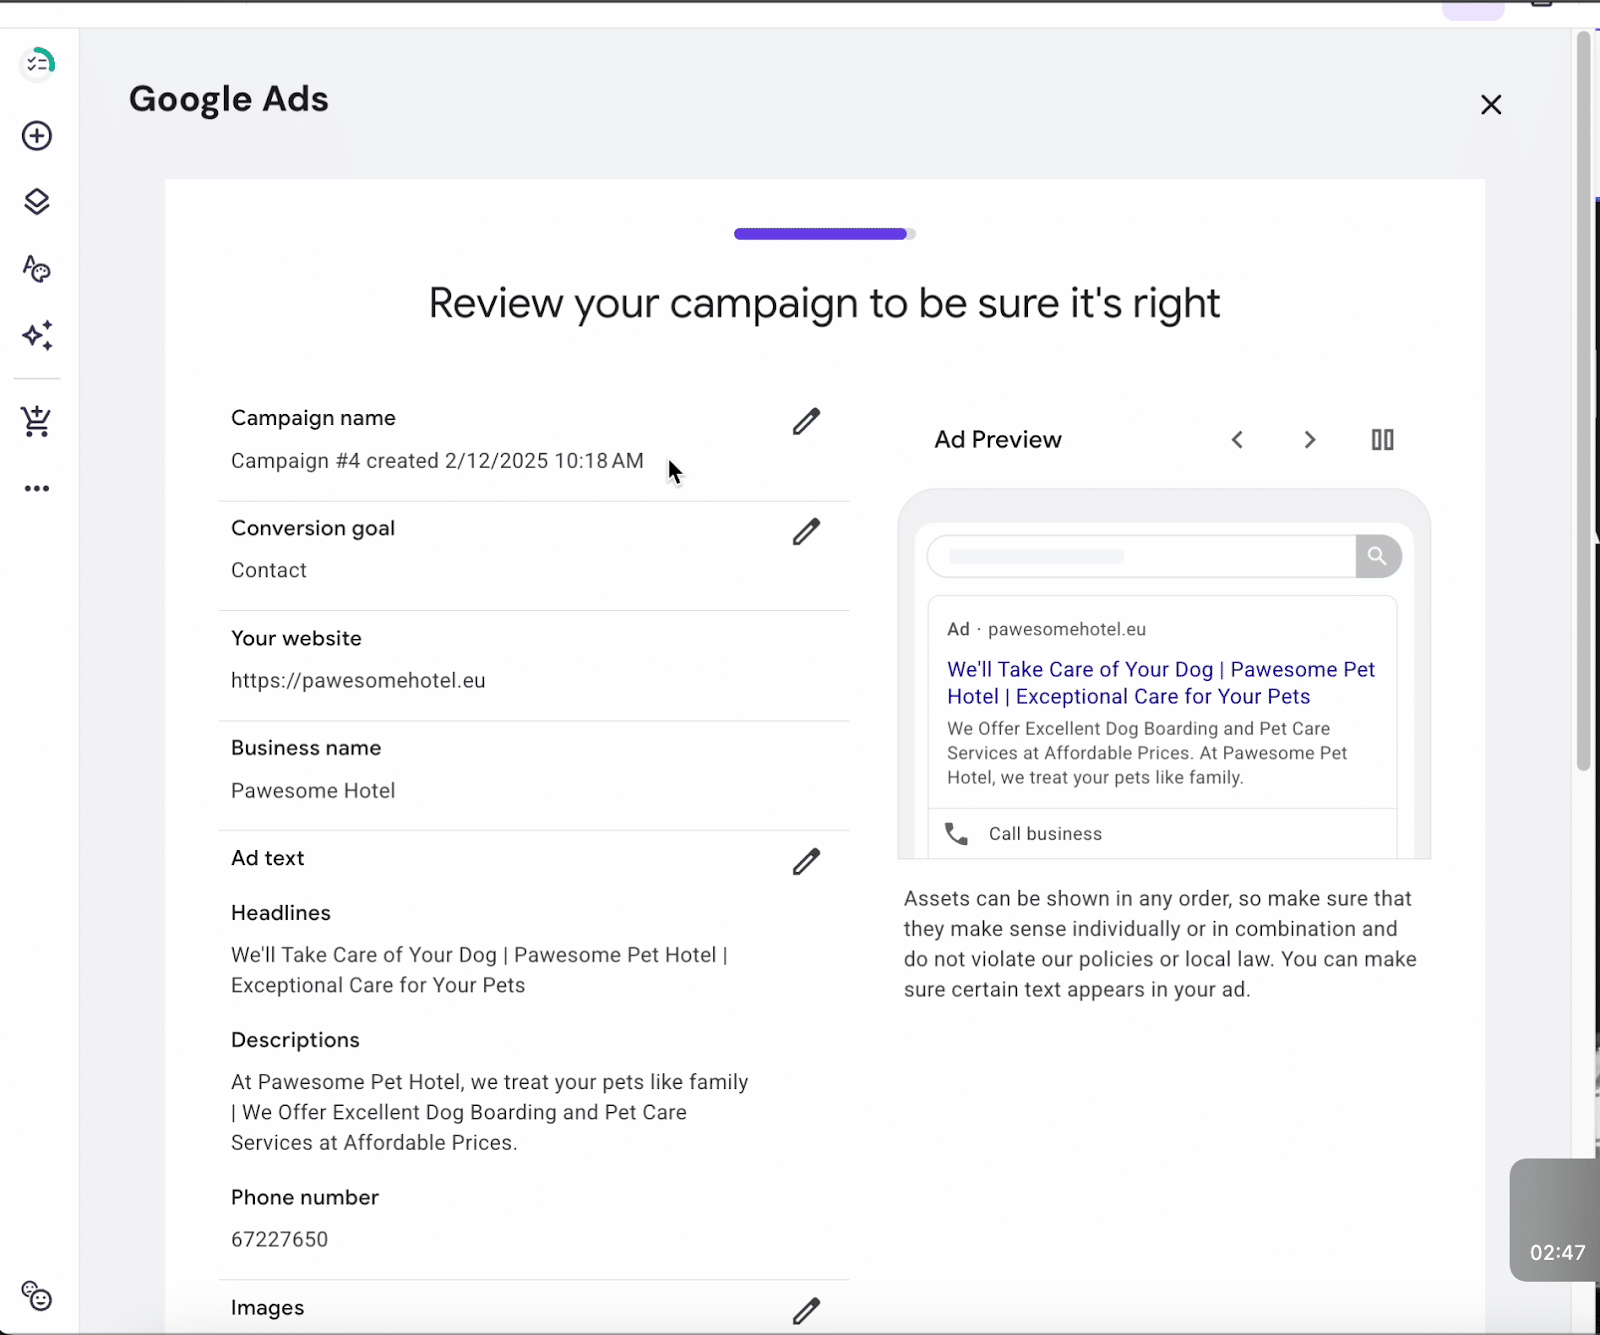
Step 12. Review Time!
Carefully review all setup details and ensure everything is as desired. Preview your ad to see how it will appear and make changes as needed using the pencil icon. If satisfied, click Next.
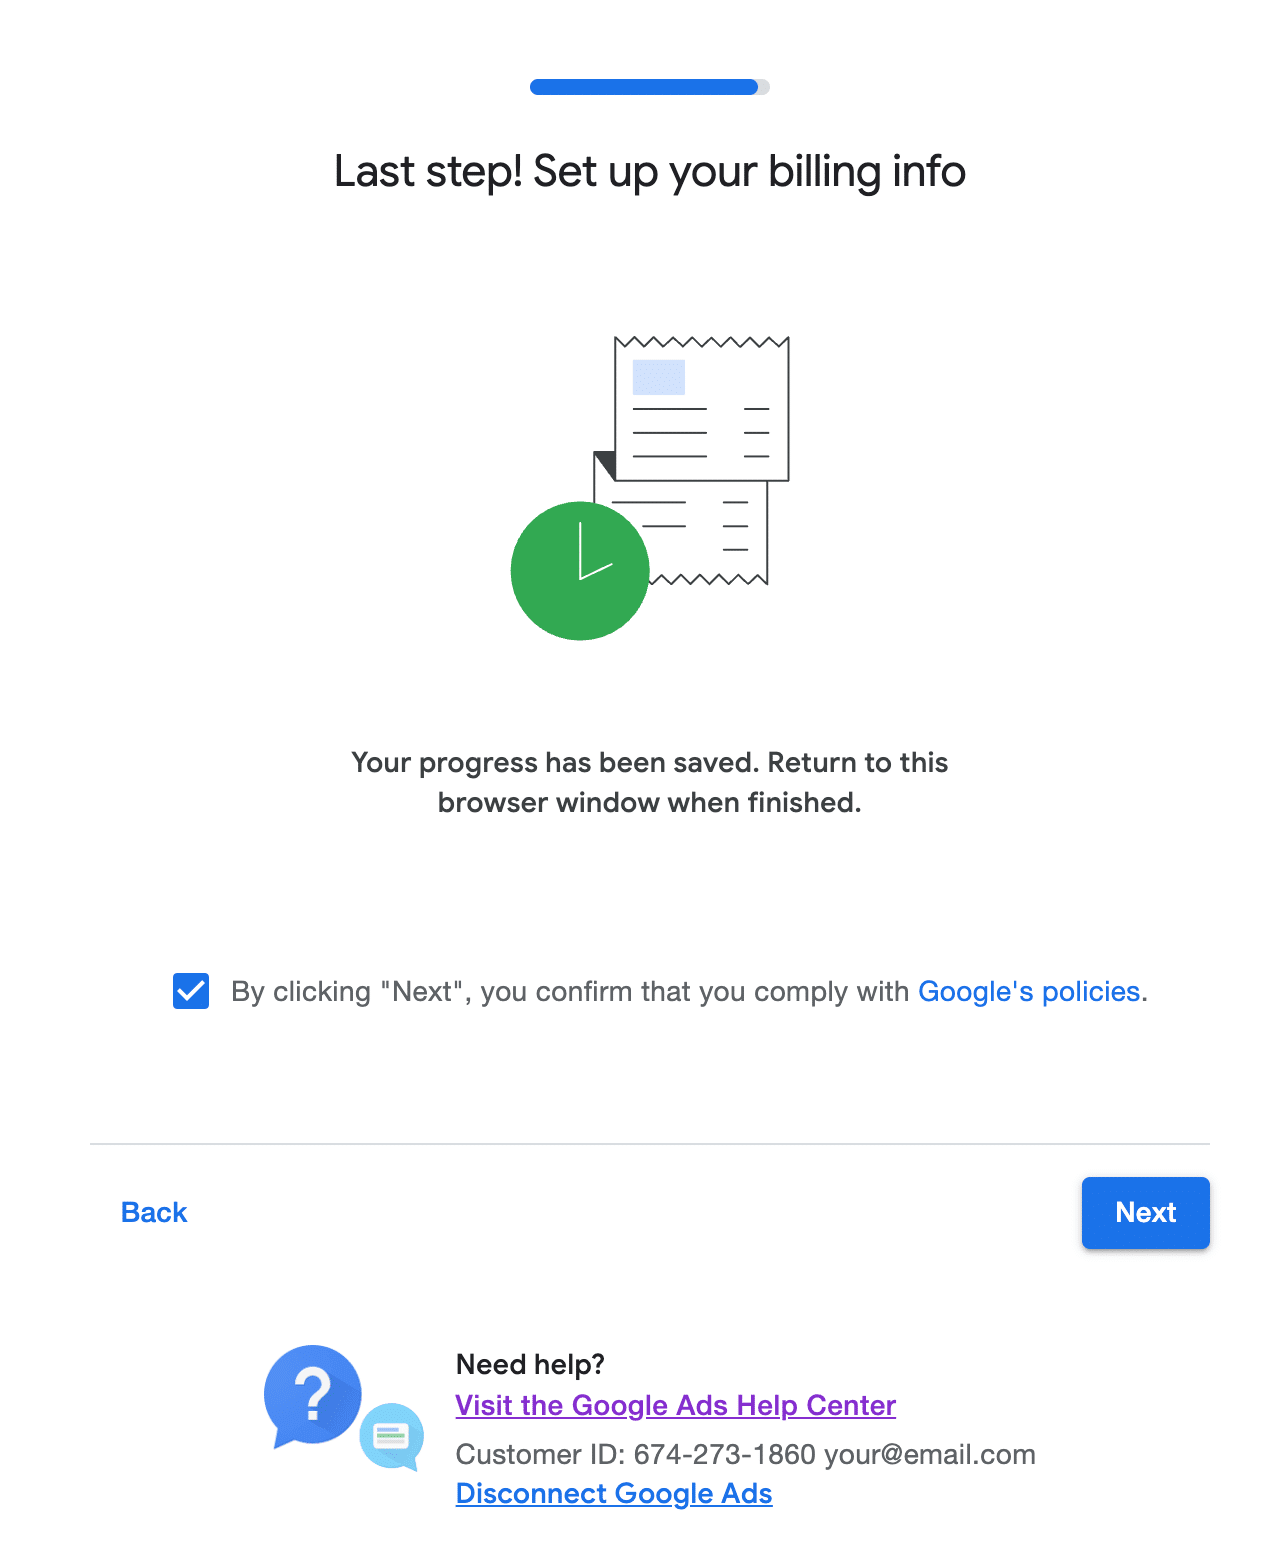
Step 13. One more step!
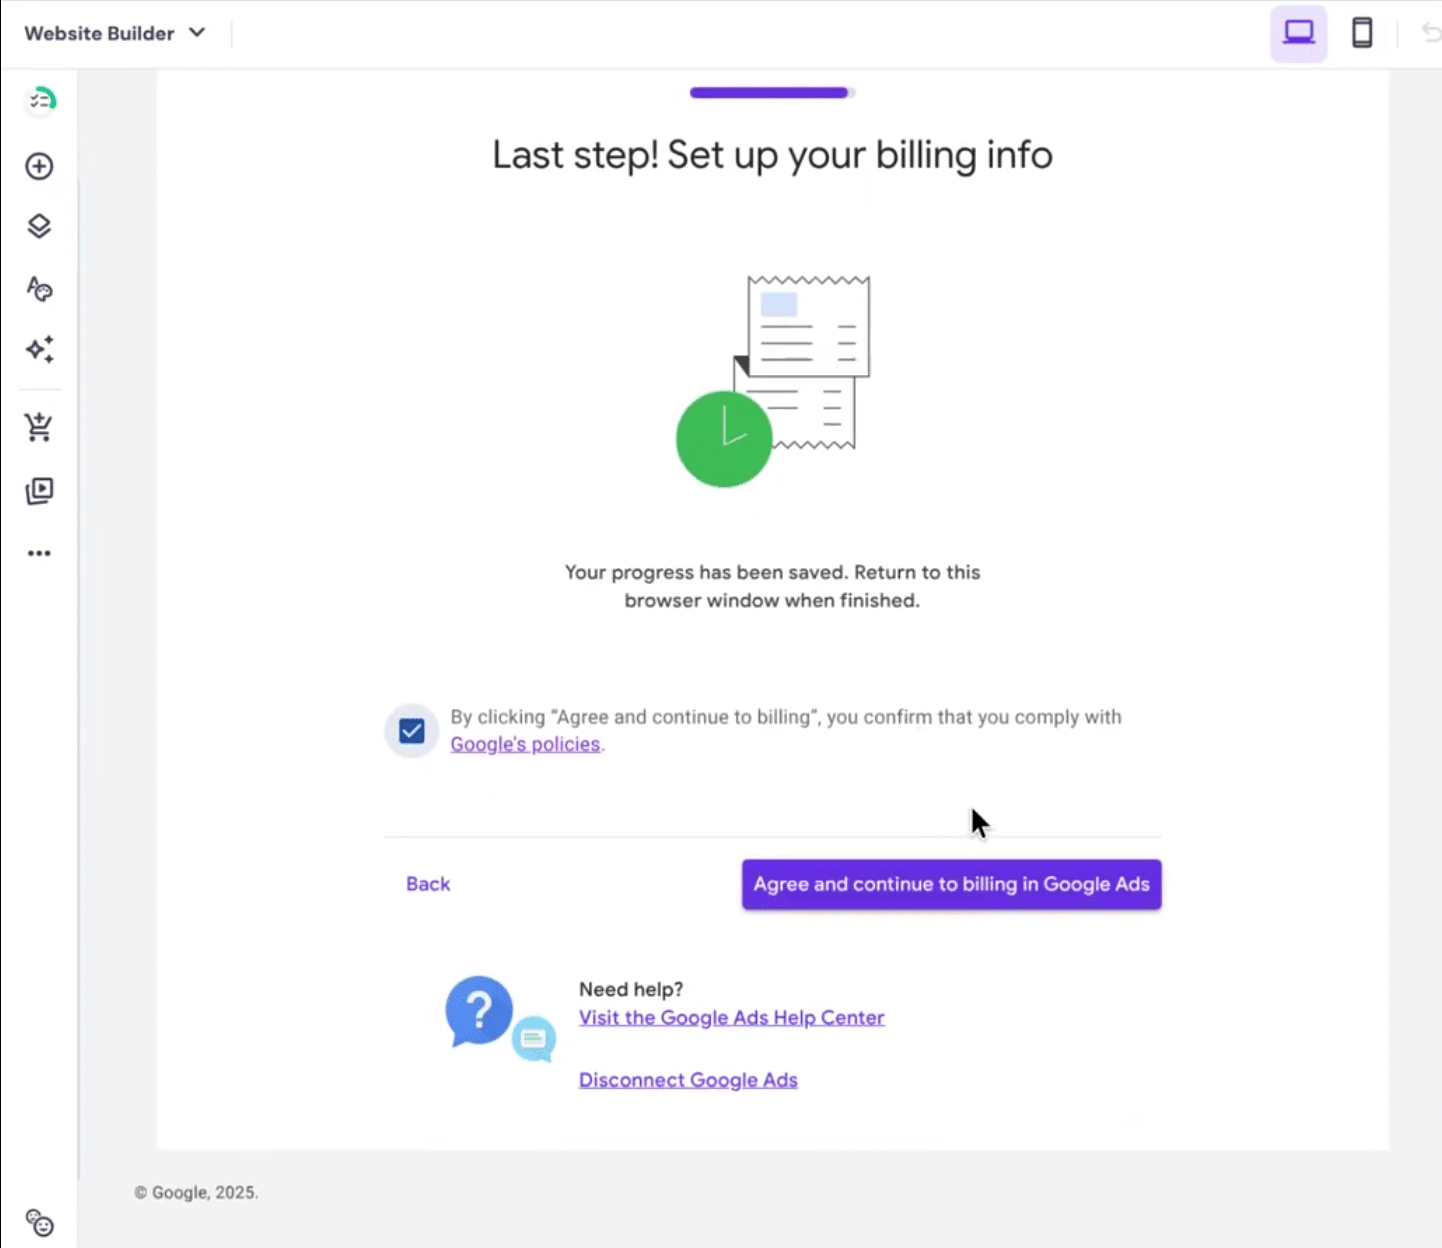
Now it’s time to review the terms and conditions and configure your billing setup for your account. If you accept the terms, select the checkbox, then you’ll be taken to Google Ads to provide your payment details and finalize your billing configuration. Click next when ready to proceed
Step 14. Launch! 🚀
Launch your newly created campaign! Once live, you can monitor campaign reports directly within ExactMetrics. Navigate to Google Ads in the sidebar under Insights to see your campaign’s progress.
Note: Ensure all necessary billing information for your Ad account is updated to avoid service interruptions.
And that’s all! You’ve successfully launched a Google Ad campaign from your site, with all reports accessible from the same location!
For keyword guidance, explore the Search Console Report in ExactMetrics. Learn more about connecting it here: How to Connect Google Search Console to Google Analytics 4 + WordPress.

